
Garage door in progress: fitting until it is right
From the old steel up-and-over door to two Douglas leaves that close. Measuring, mortise and tenon joints, oak draw pegs, hanging and levelling.
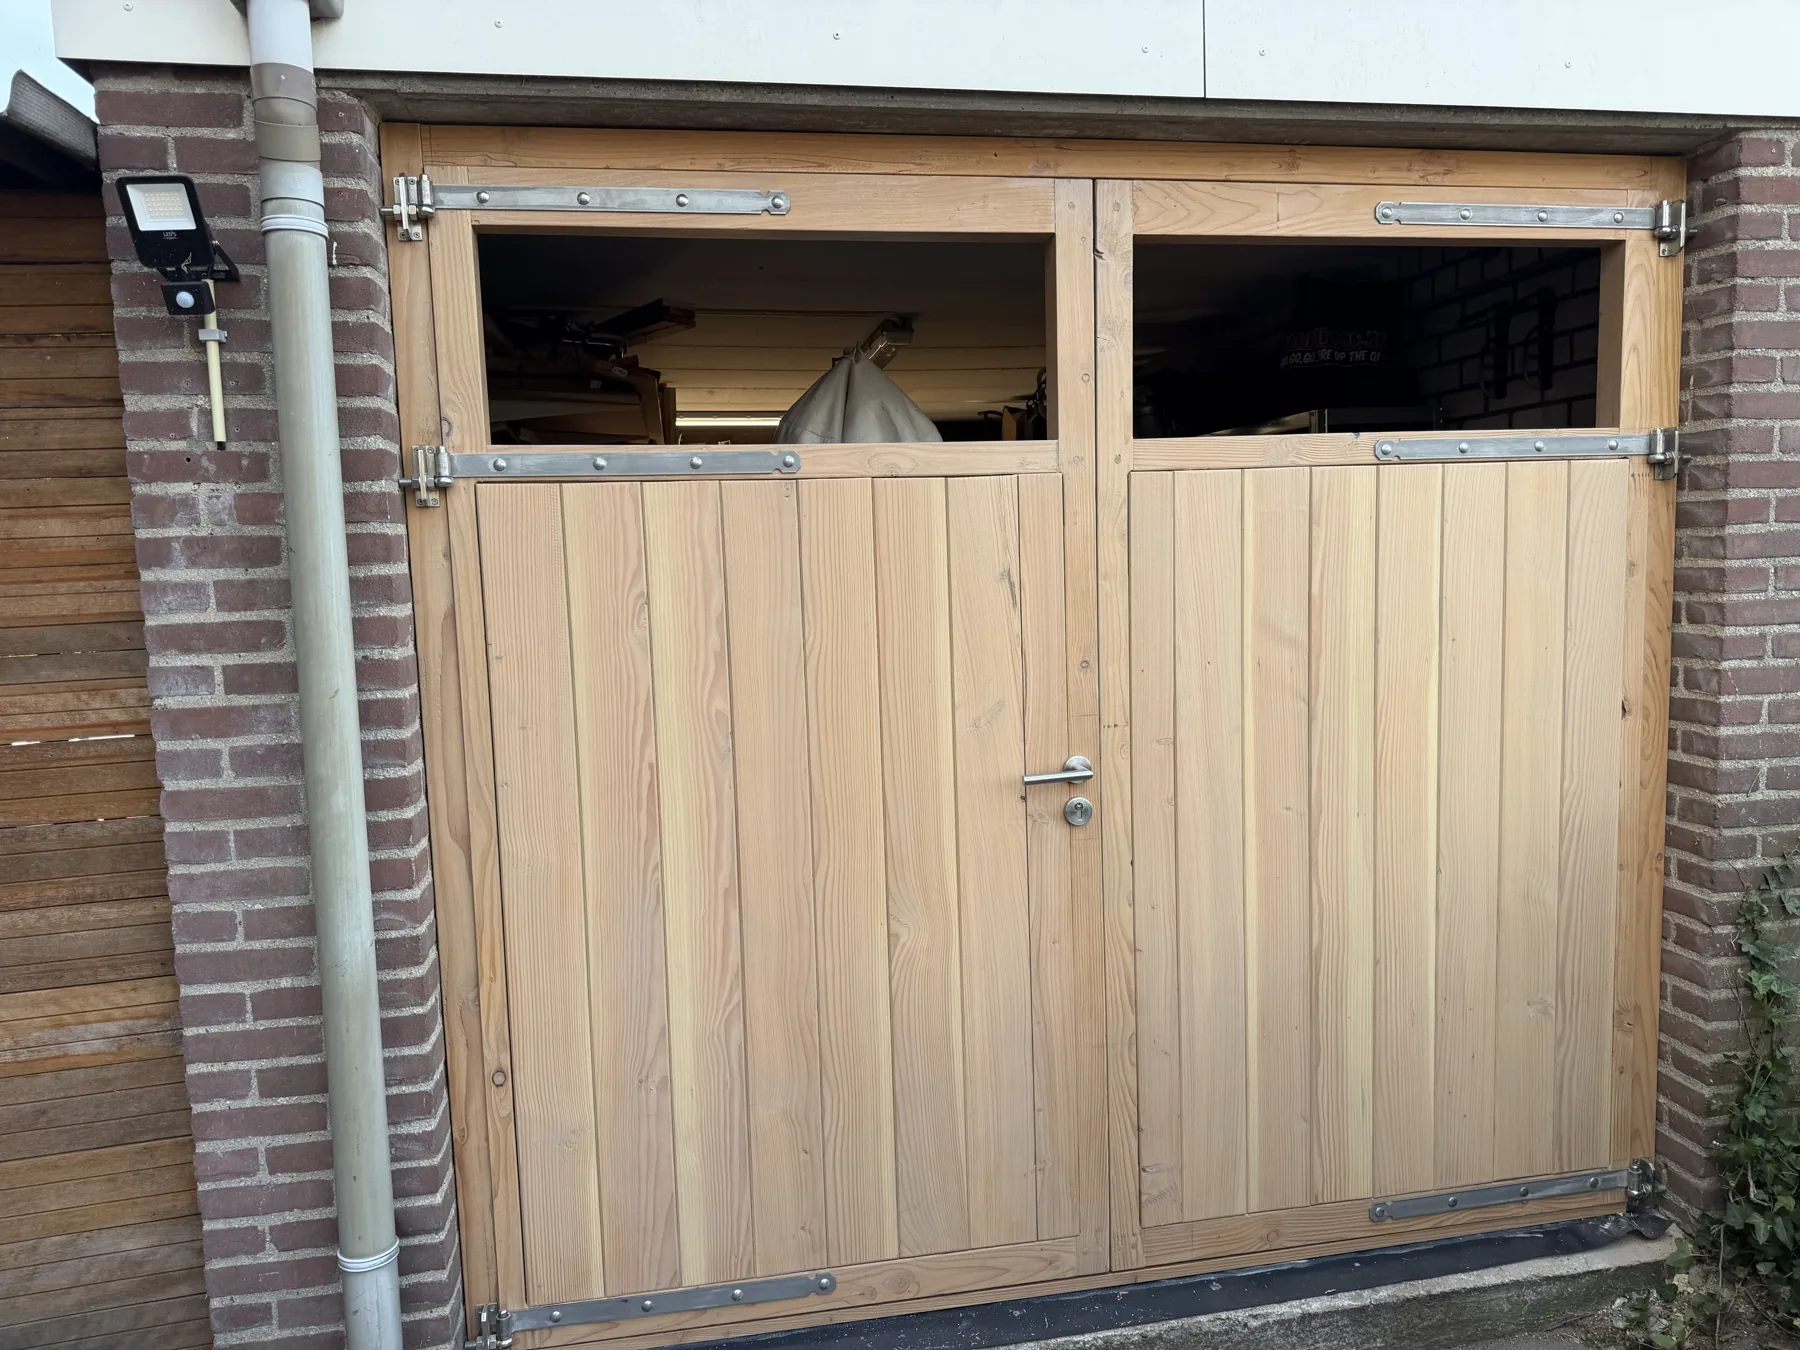
This is a note from the build. The garage door is finished: the complete project is on Outward-opening garage doors in Douglas.
The double garage door is hung. Both leaves swing, they meet in the middle, and the lock catches. It is not finished: the glazing still has to go into the top lights, the Douglas fir is waiting for its finish, and there are a few spots I want to adjust until it sits exactly right. So this is a progress report, written while the sawdust is still on the floor.
In an earlier note I wrote about the choice of material and why it became Douglas fir rather than larch. This piece is about the making itself, and about the places where practice adjusted the design.
Starting from the opening
The starting point was not a drawing but a hole in the wall. The opening held an old blue-painted steel up-and-over door that no longer fitted the rest and did little thermally. So the size of the new door was not invented as a round number but read off the brickwork that was already there.
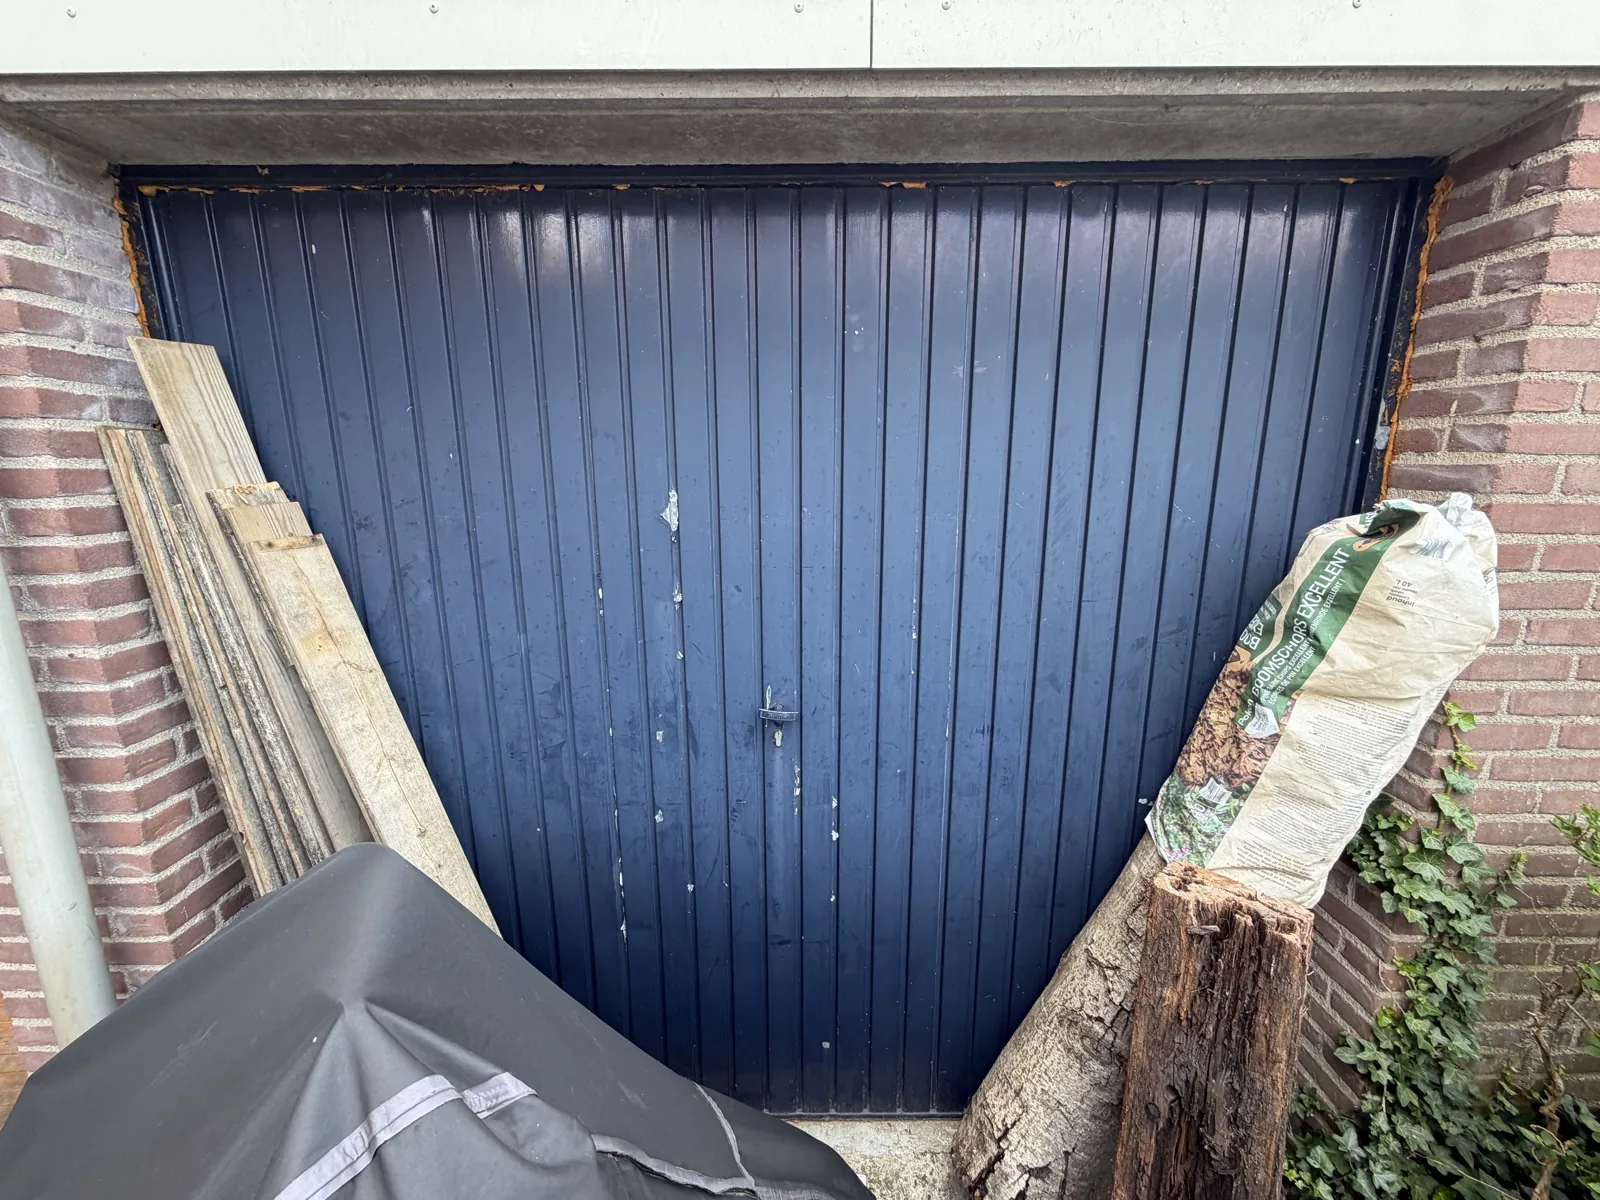
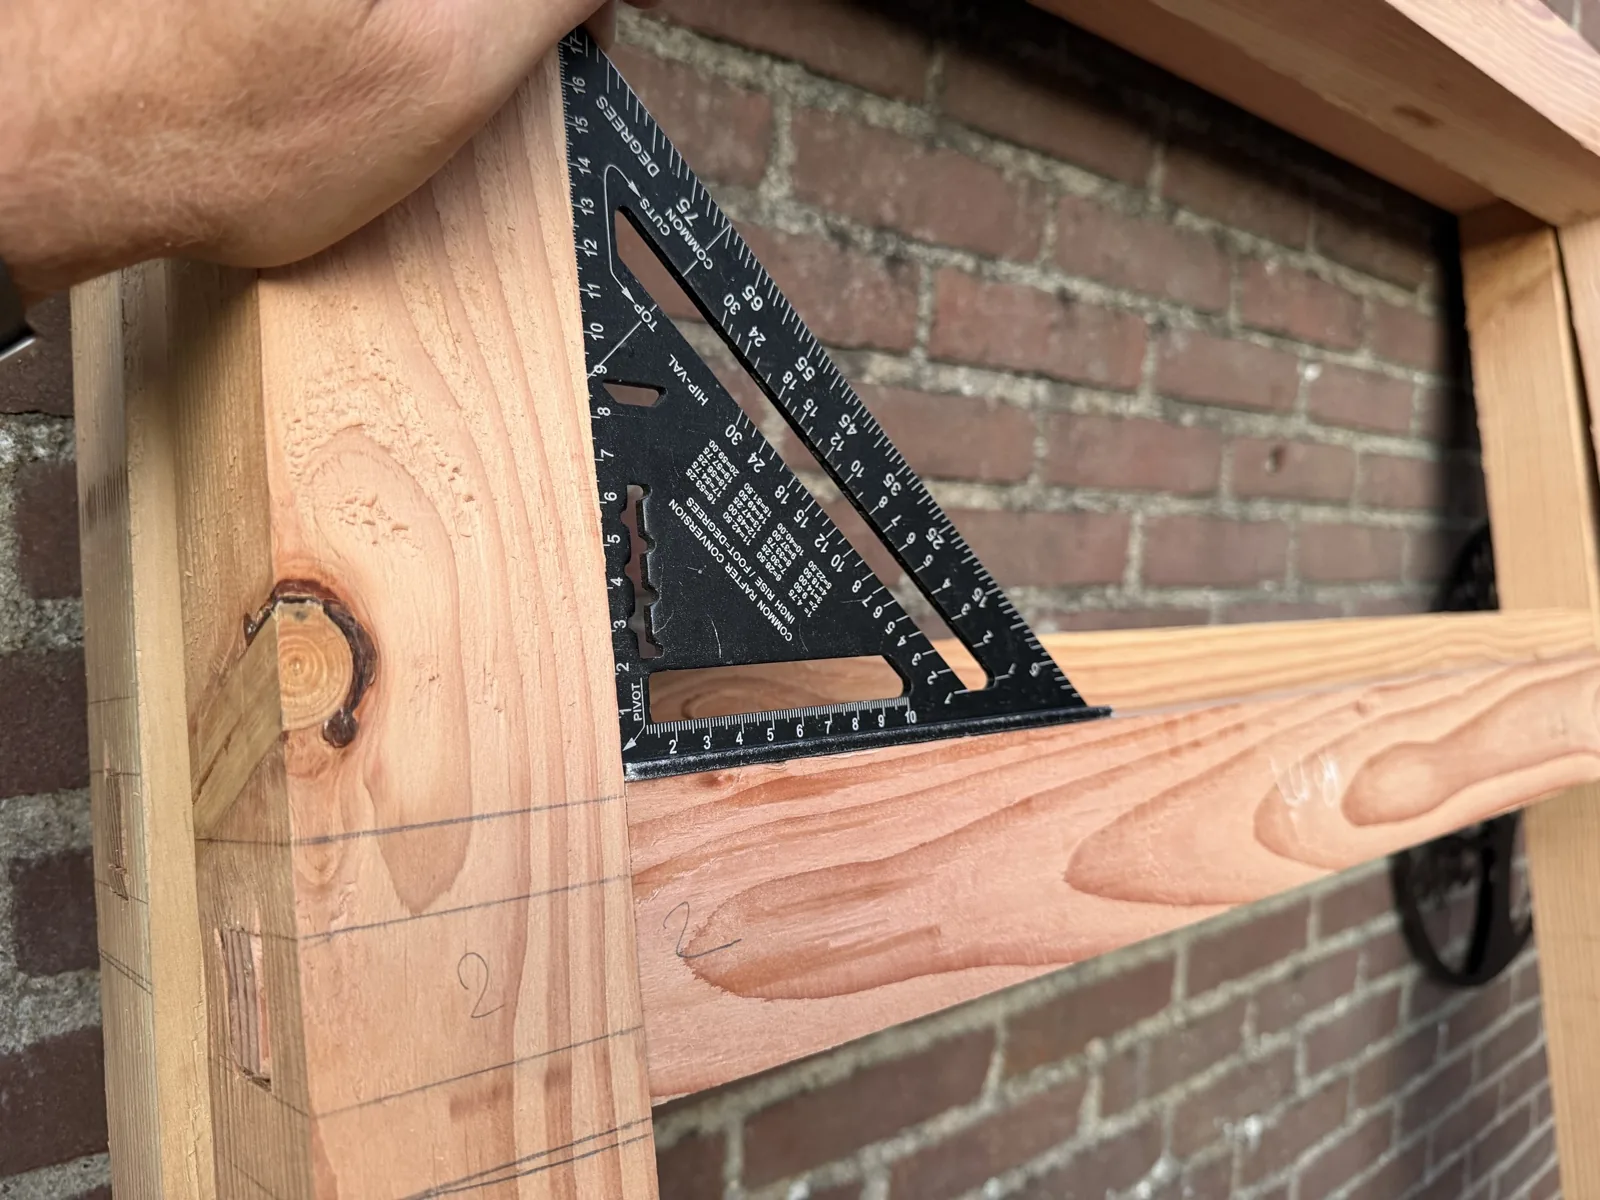
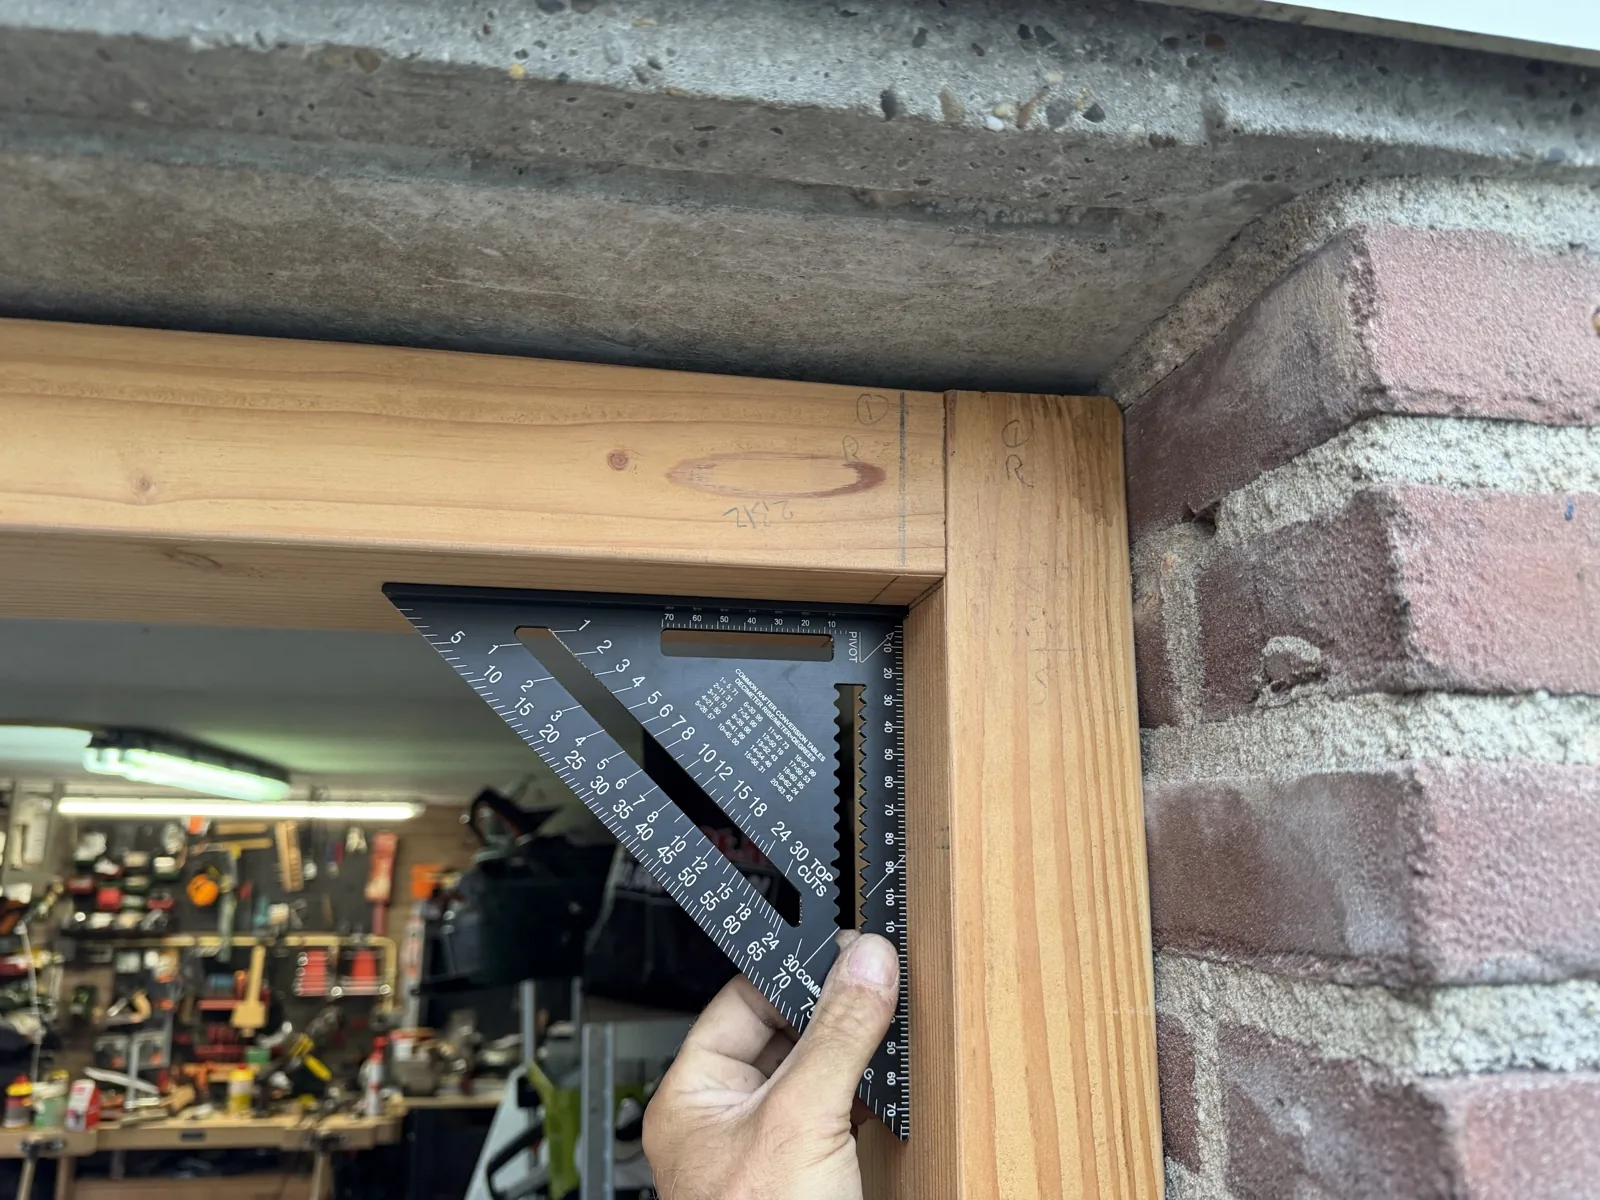
Before cutting anything I measured the opening at several heights and widths, from the outside in. A masonry opening is rarely the same width everywhere and rarely square everywhere, and those small deviations decide later whether the leaves close neatly against each other. A speed square and a folding rule against the reveals showed me how far out of true the opening really runs.
From drawing to the real situation
The design was worked out far enough to begin, but a drawing is never the whole reality. Some of the choices and details only become visible once the door stands against the existing wall. Those choices are best made there, with the wood and the opening in front of you, rather than beforehand on paper.
The material is one of them. Larch was the starting point, but in the heavy sections this door needs it was poorly available and came with long lead times. Douglas fir was in stock in the same dimensions and fitted the schedule. That was not a concession made for convenience, but a practical choice that kept the work achievable.
Joints and precision
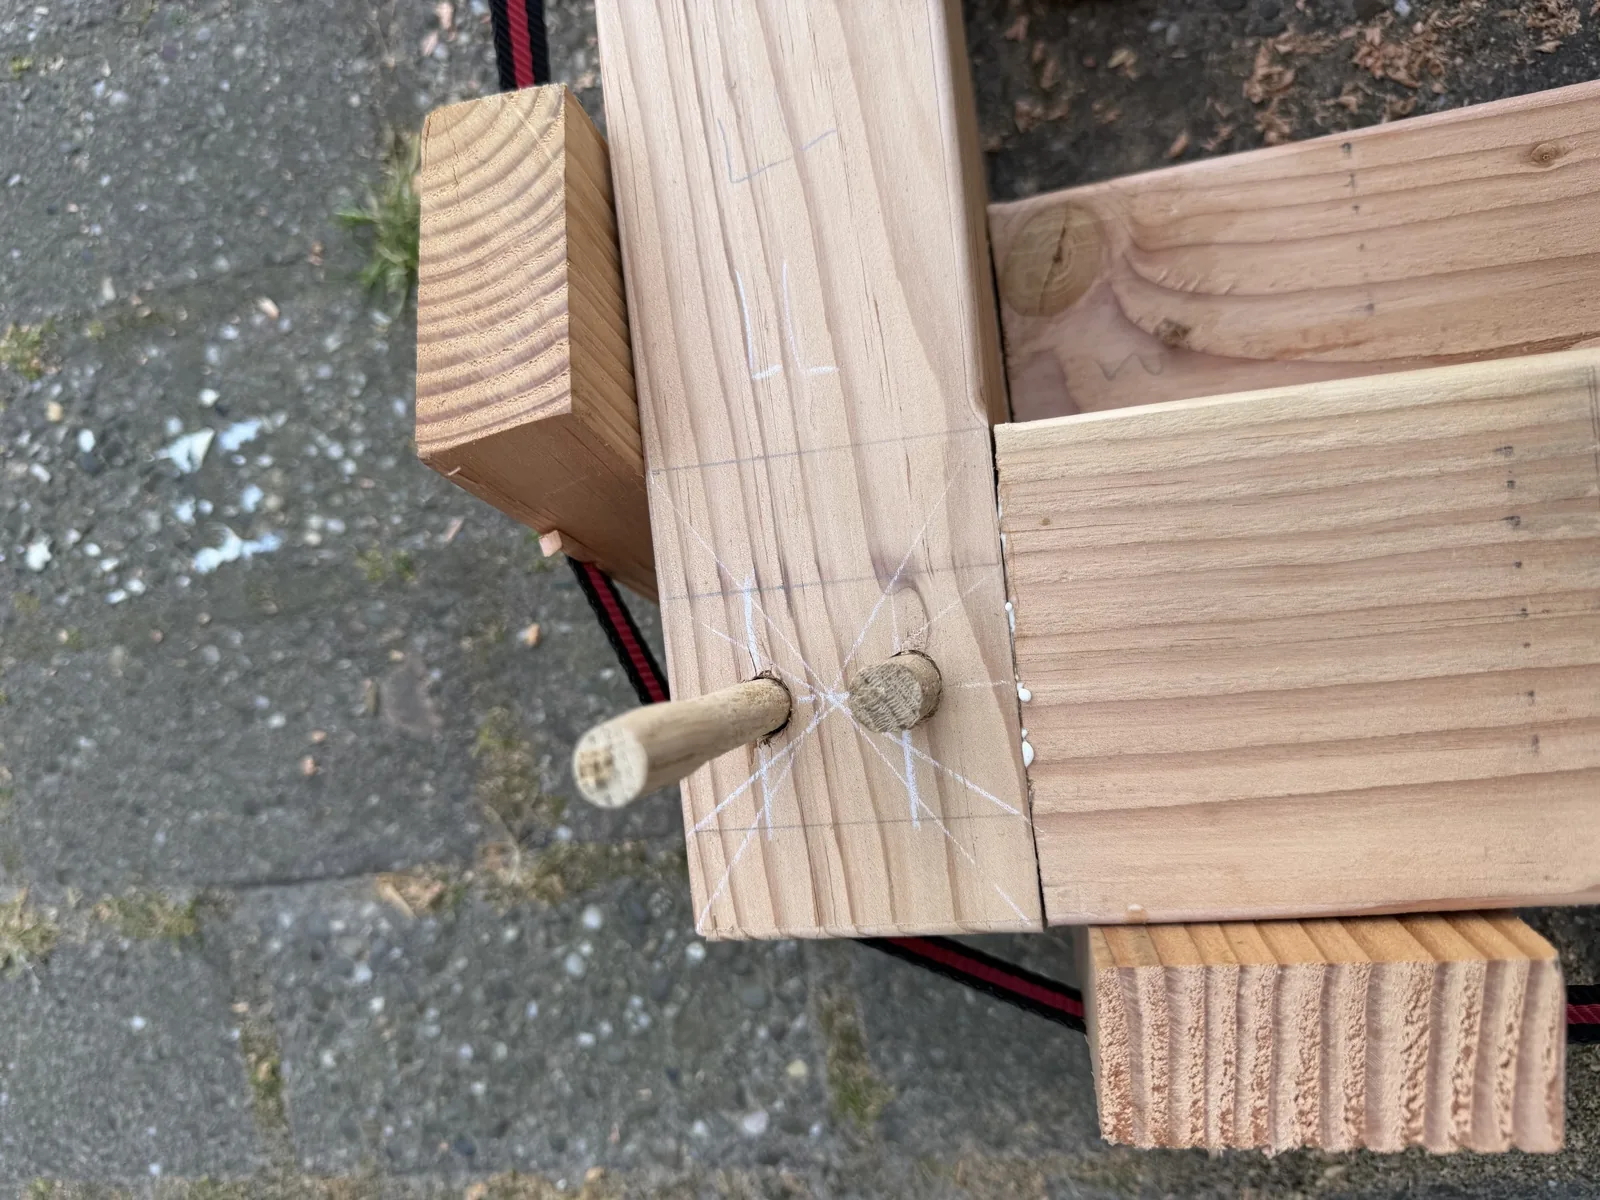
The frame is built with traditional mortise-and-tenon joints, secured with wooden pins. Those joints are not fully rigidly glued, so the wood can keep working with the seasons. The door leaves are fixed more firmly: there the mortise-and-tenon joints are glued and drawn tight with oak draw-bore pins.
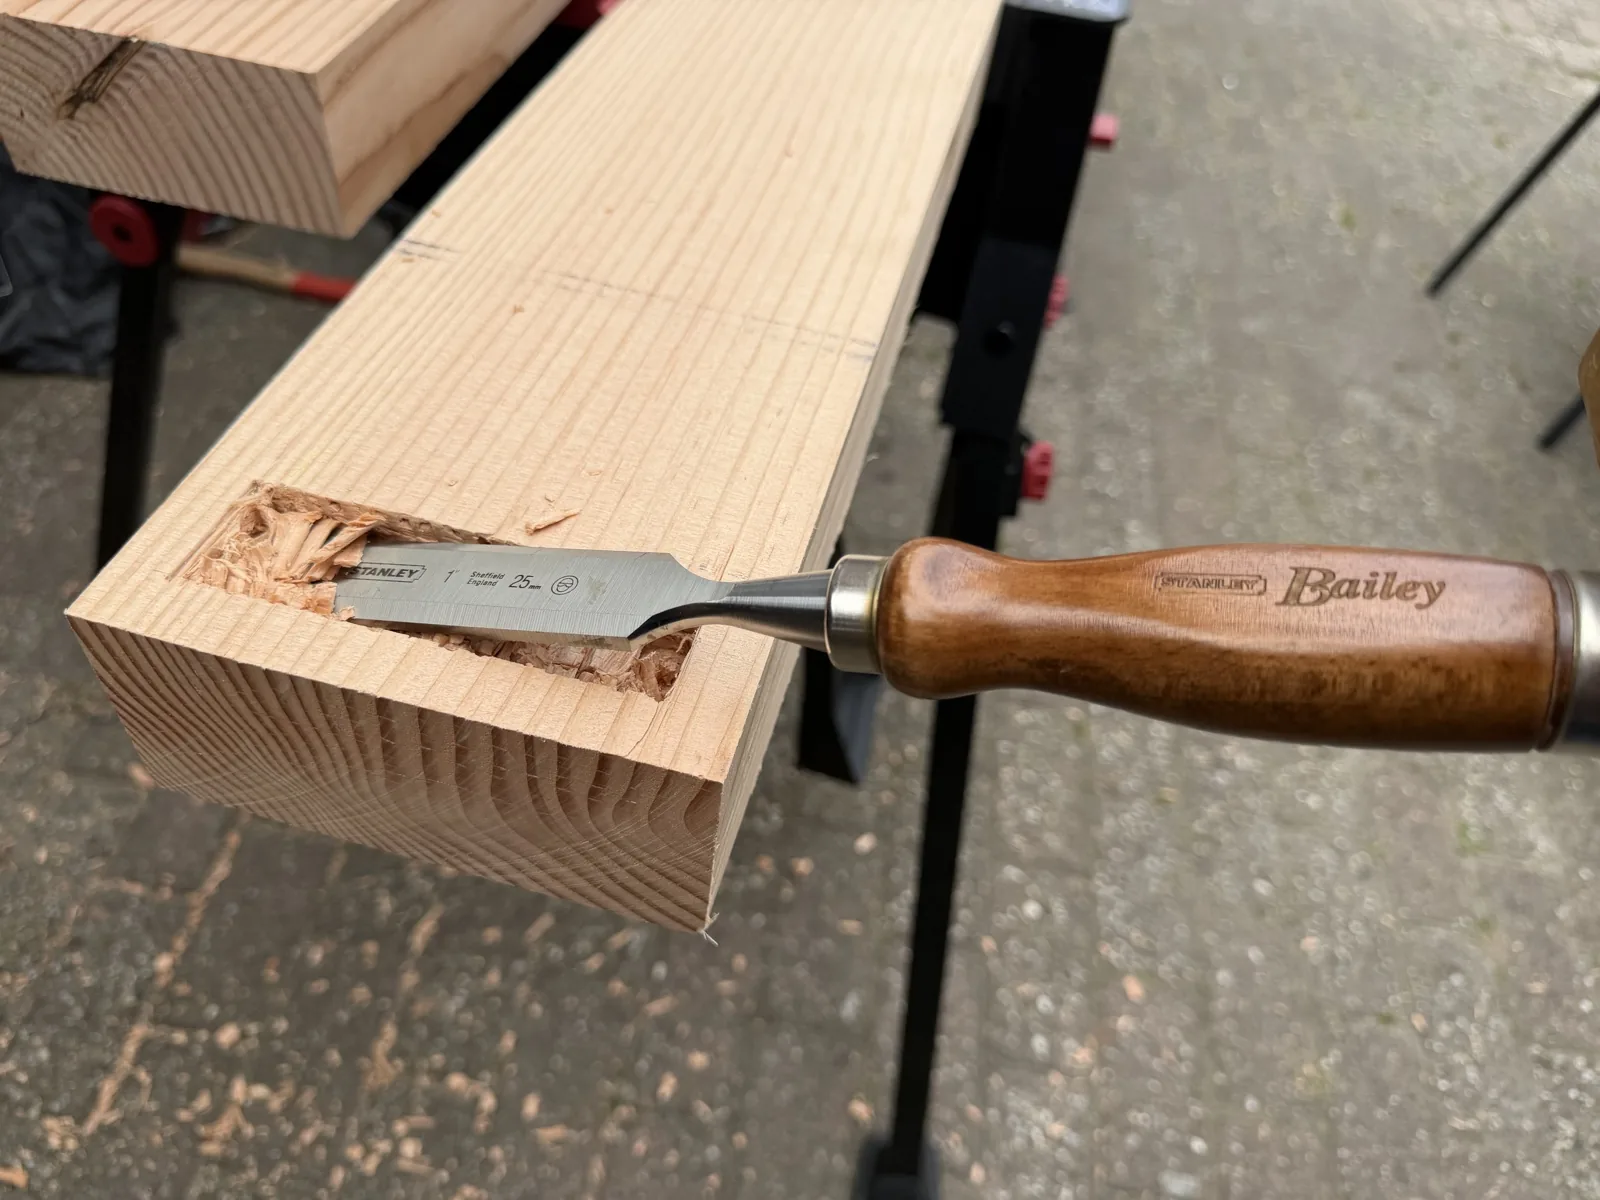
Oak is harder than Douglas fir, so driving those pins has to be done under control. Too much force, or a wrong offset between the holes, does not draw the joint tight but damages it. Fitting accurately, building up dry first, and thinking ahead about how the wood will move mattered more here than speed. The main structural joints are made without screws.
Lighter without giving anything up
The first build-up of the leaf turned out too robust and therefore too heavy. For a fixed panel that would not matter, but this is a moving part that has to open and close every day. So I made the insulation layer thinner than in the original plan. The aim stayed the same: a door that insulates well but also stays manageable and keeps swinging smoothly.
The glazing layout was simplified too. Instead of several separate panes per door there will be one continuous field of glass in the top light, made as safety glass with insulating glazing. That avoids vulnerable seams, makes the water management simpler and the execution more reliable. Decorative glazing bars can be added later for looks, but I deliberately keep them non-structural, to avoid extra maintenance and any risk of leaks.
From the bench to the opening
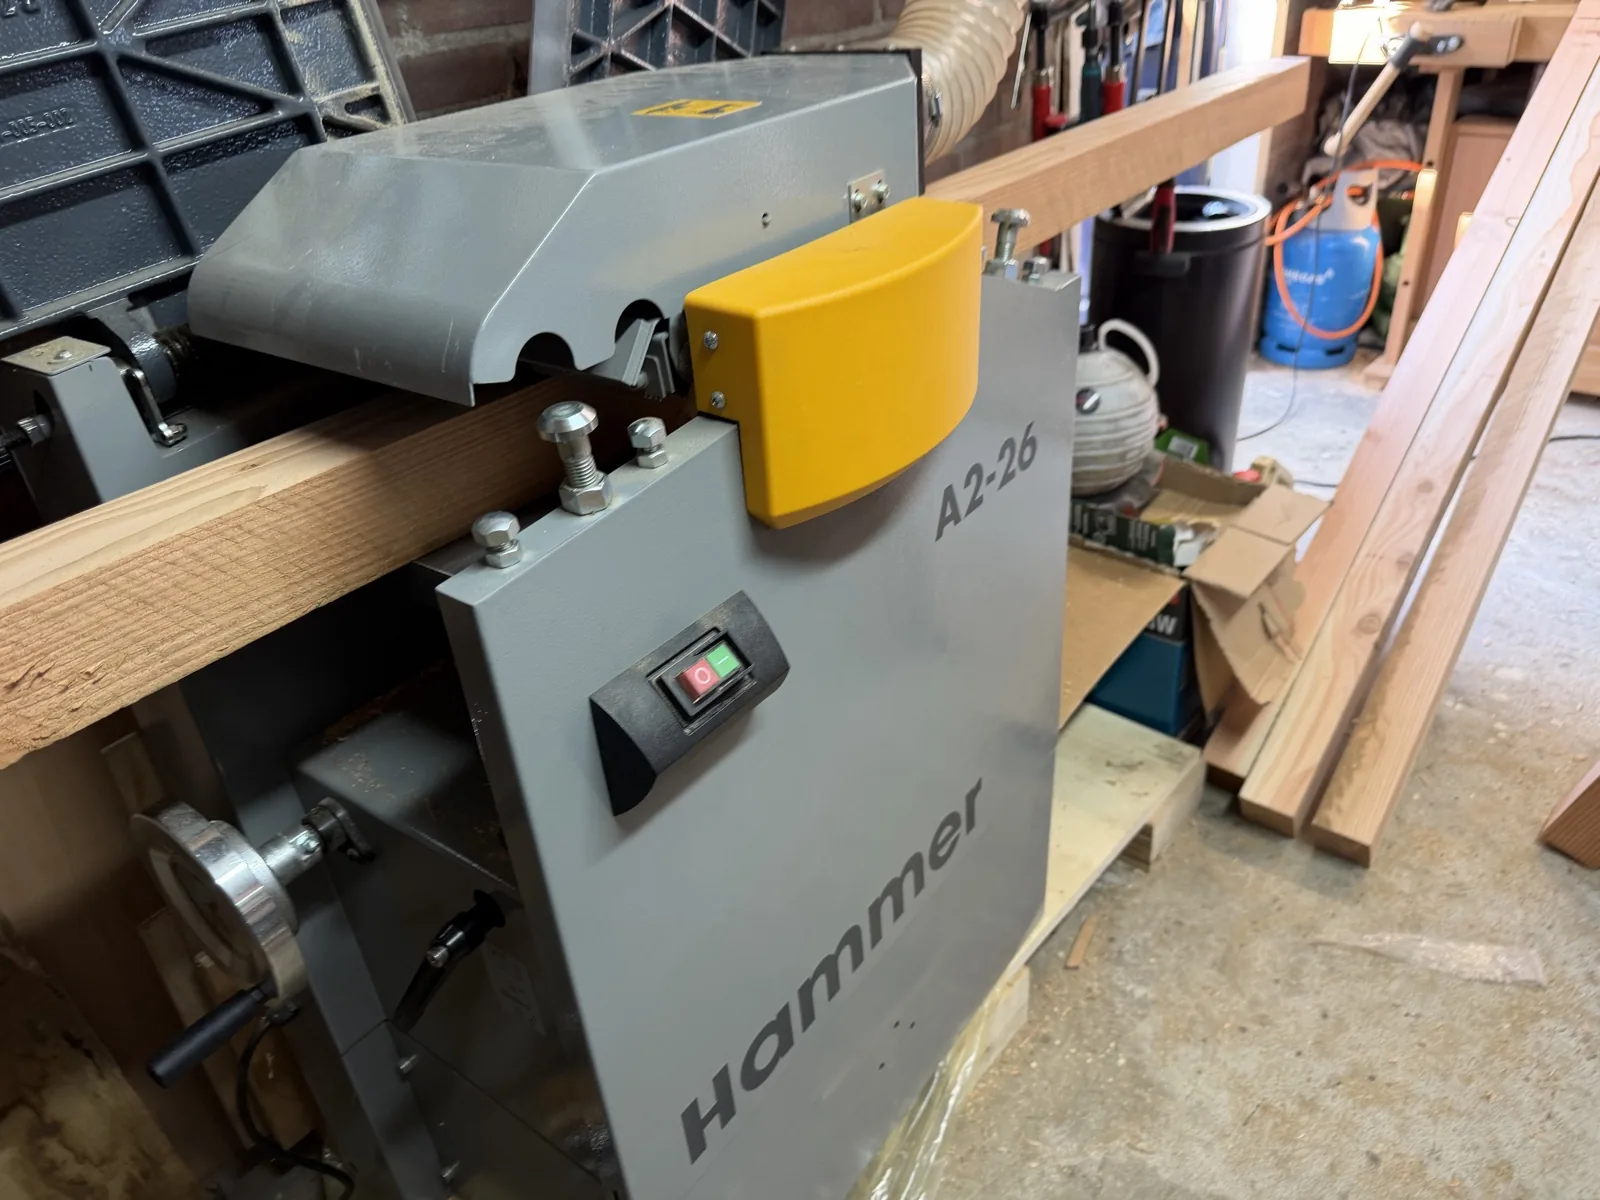
Machine work and hand work run into each other. The Douglas fir arrives in heavy stock sections and is first planed flat and to thickness before it can become anything else.
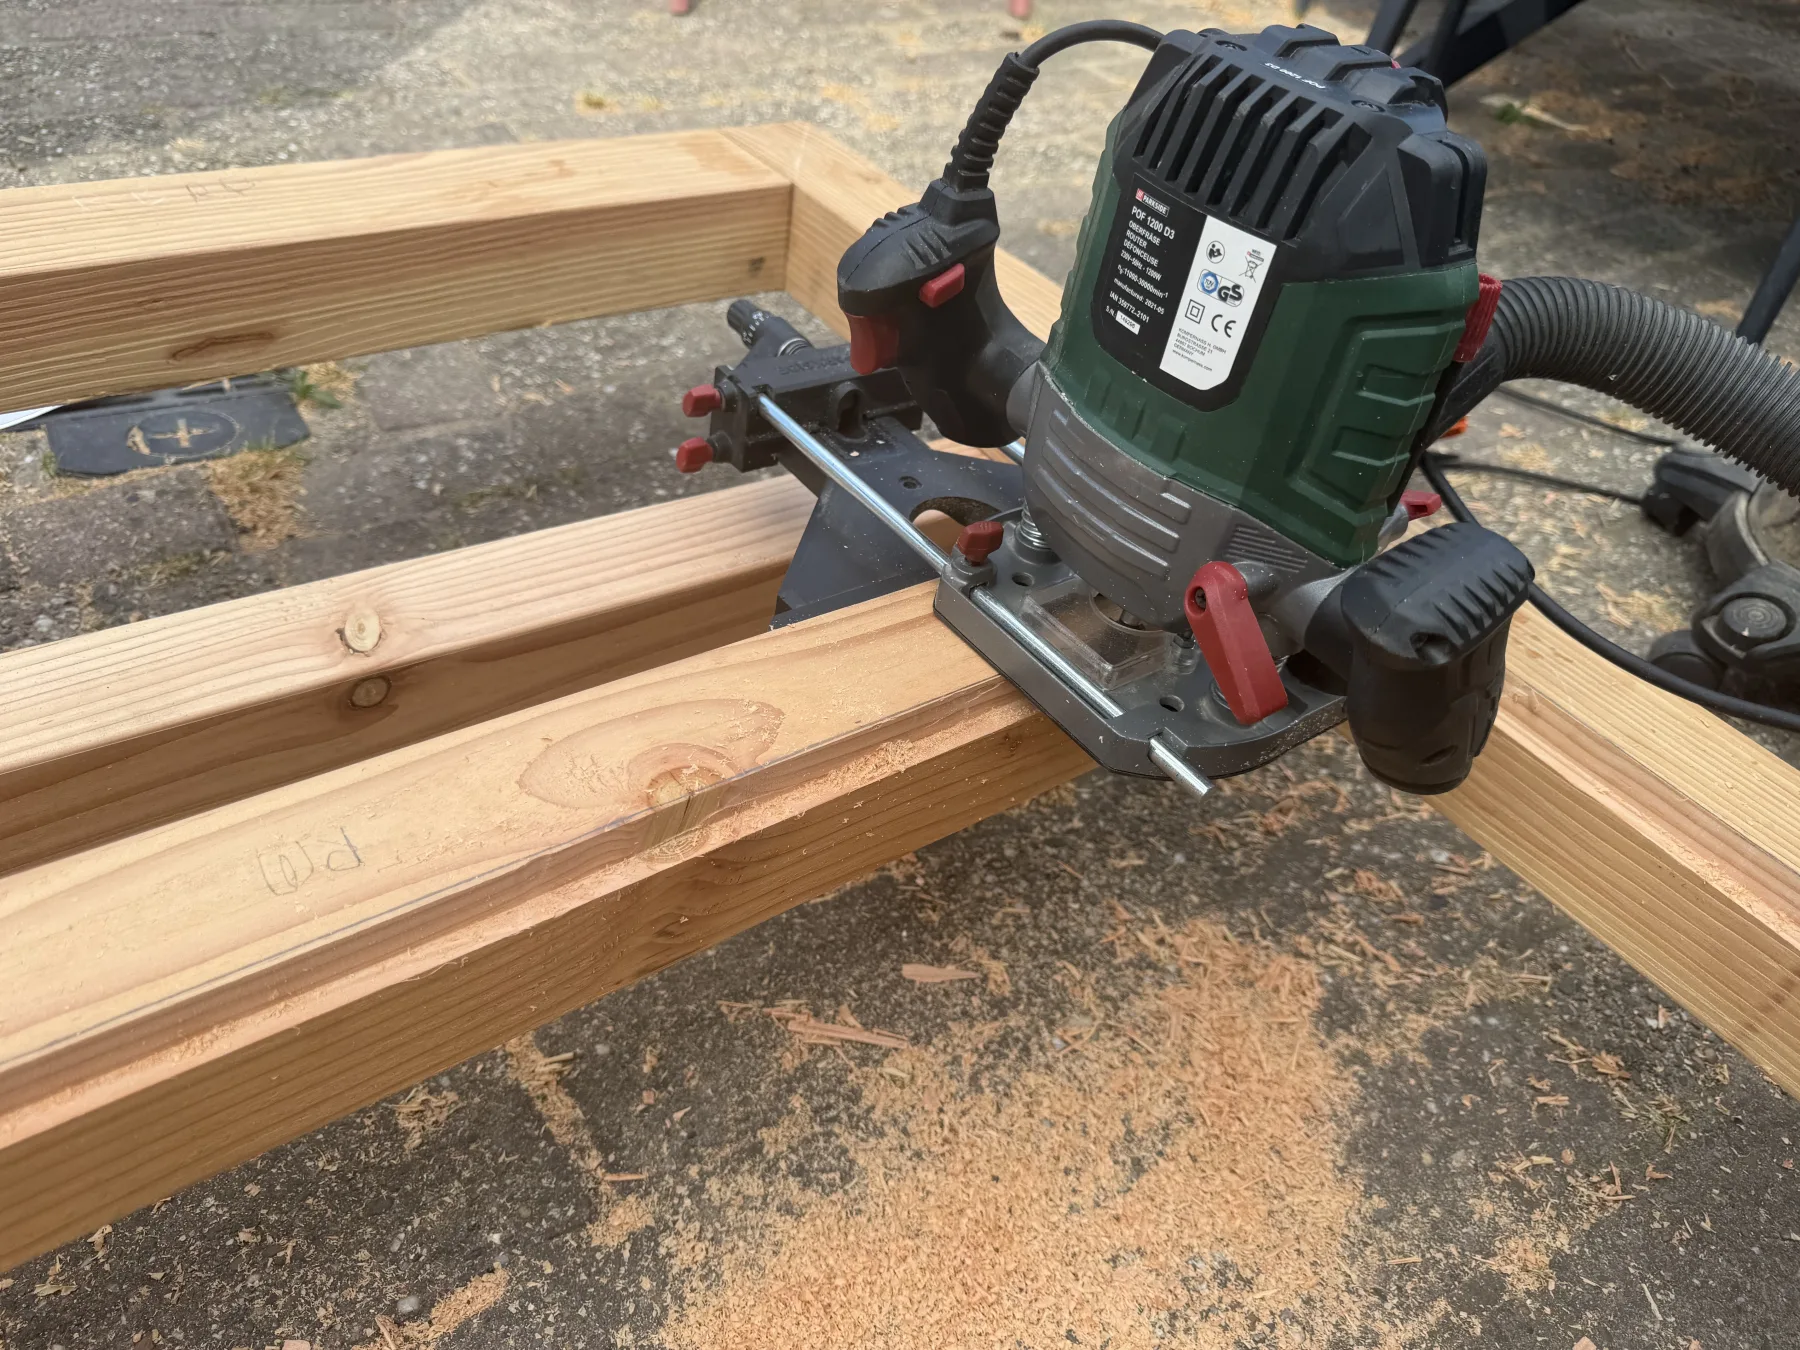
Then it goes to the bench. The stiles and rails are cut to length, the featheredge cladding goes onto the frame as an outer skin, and at some point a whole leaf is lying flat on the trestles. Along the way one cladding board turned out to be missing, and the supplier could not deliver it in time. Rather than wait, I made that board myself, cutting the right groove and rebate with a router so it joins seamlessly onto the rest.
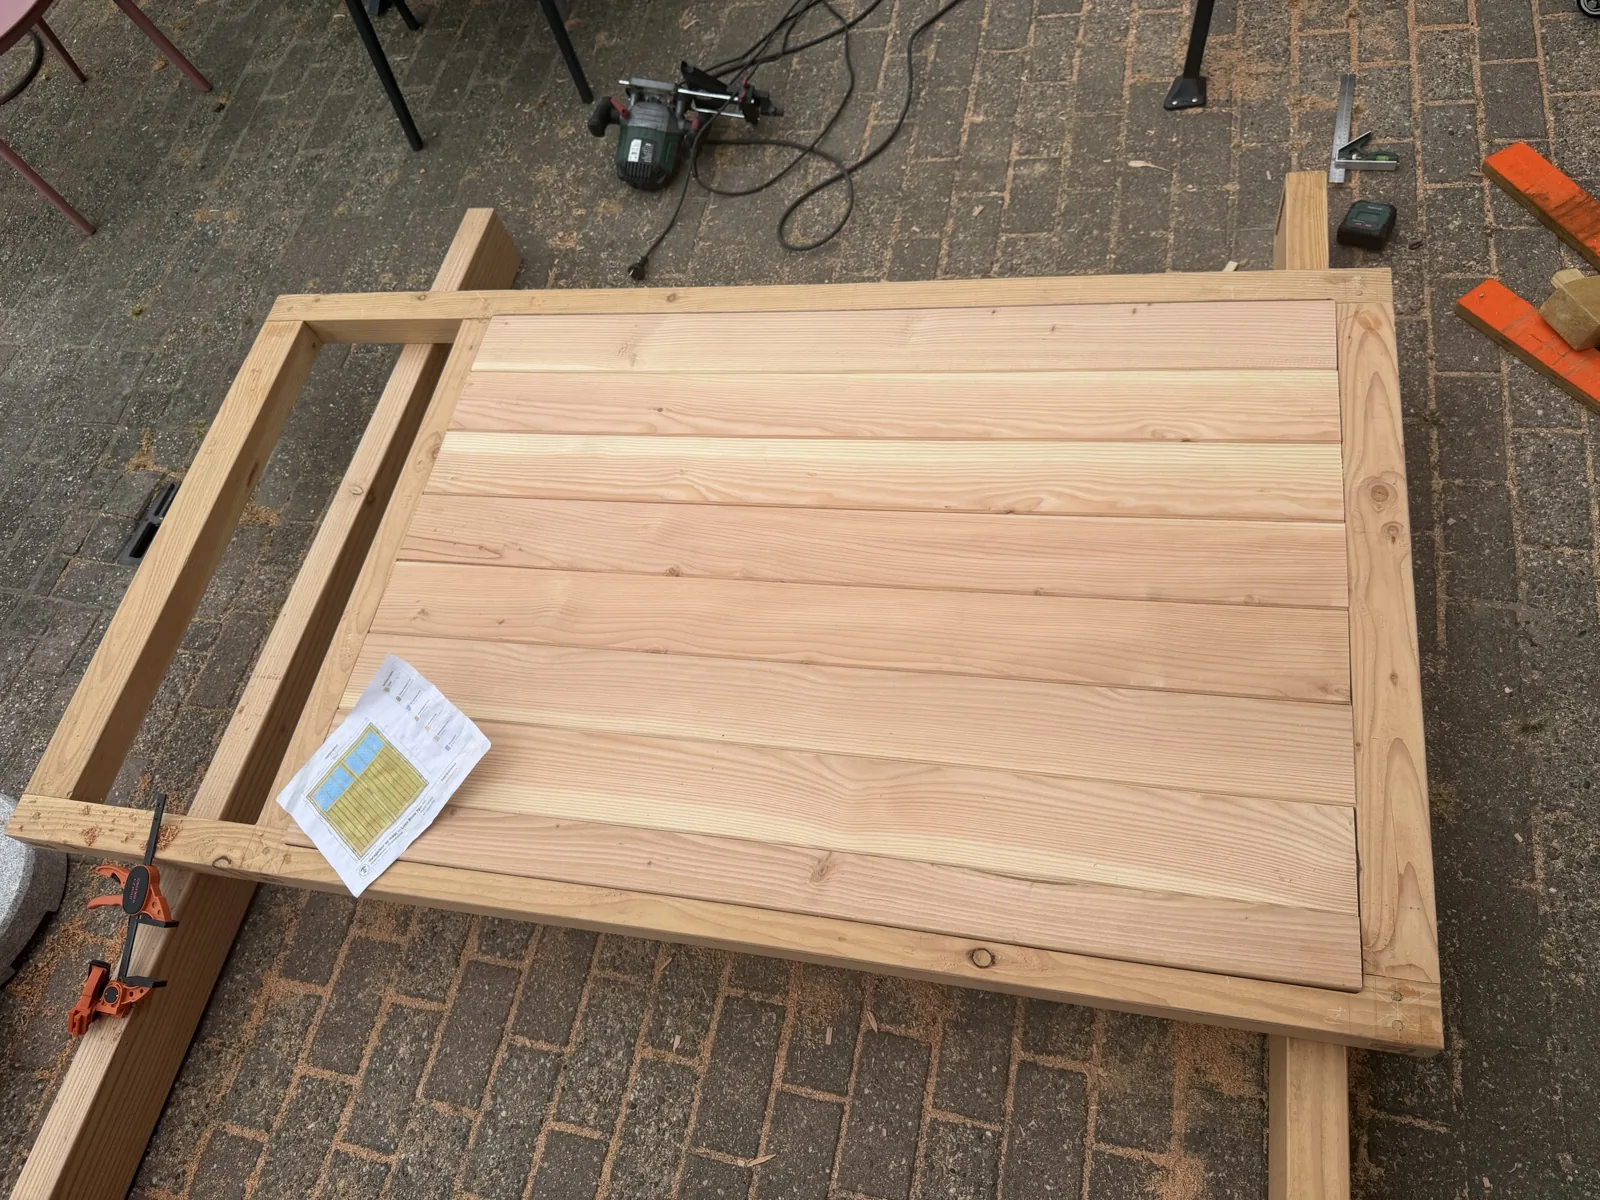
Then the real fitting begins: the leaf against the frame, the frame against the opening. I set the frame into the wall dry and check again whether it stands square, because what was true on the bench need not be true in the opening.
Hanging, adjusting and hardware
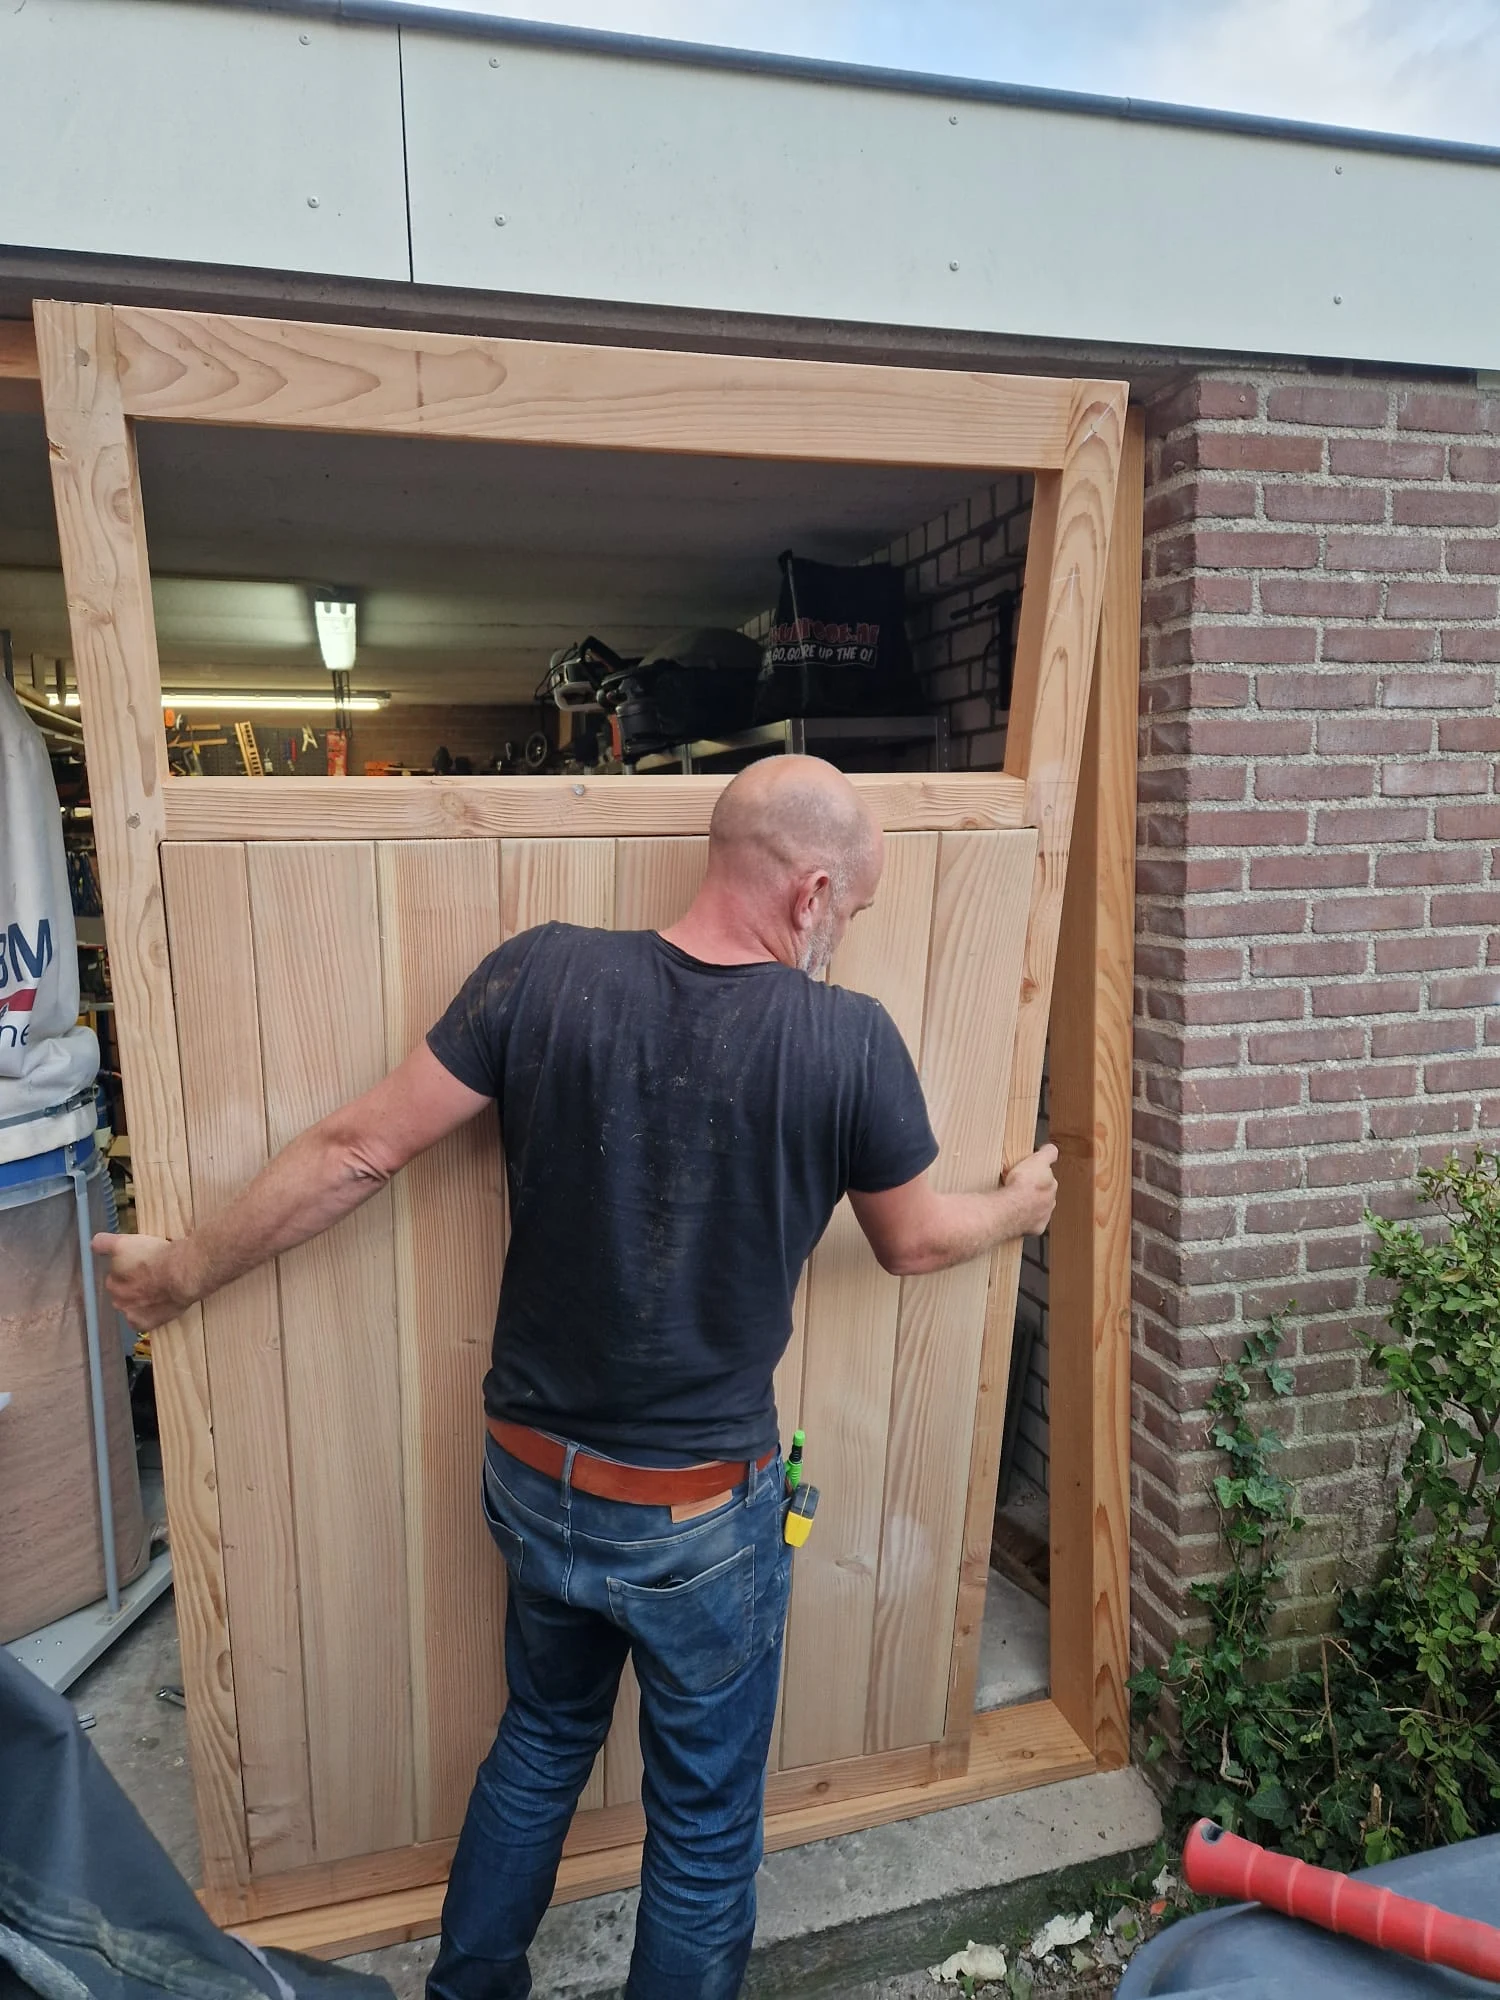
Hanging is the tense moment. A door this size is heavy, and the instant it hangs on its hinges it shows where it is still off. I hung the leaves and then adjusted them until the joint in the middle ran the same width all the way down and the doors closed without binding.
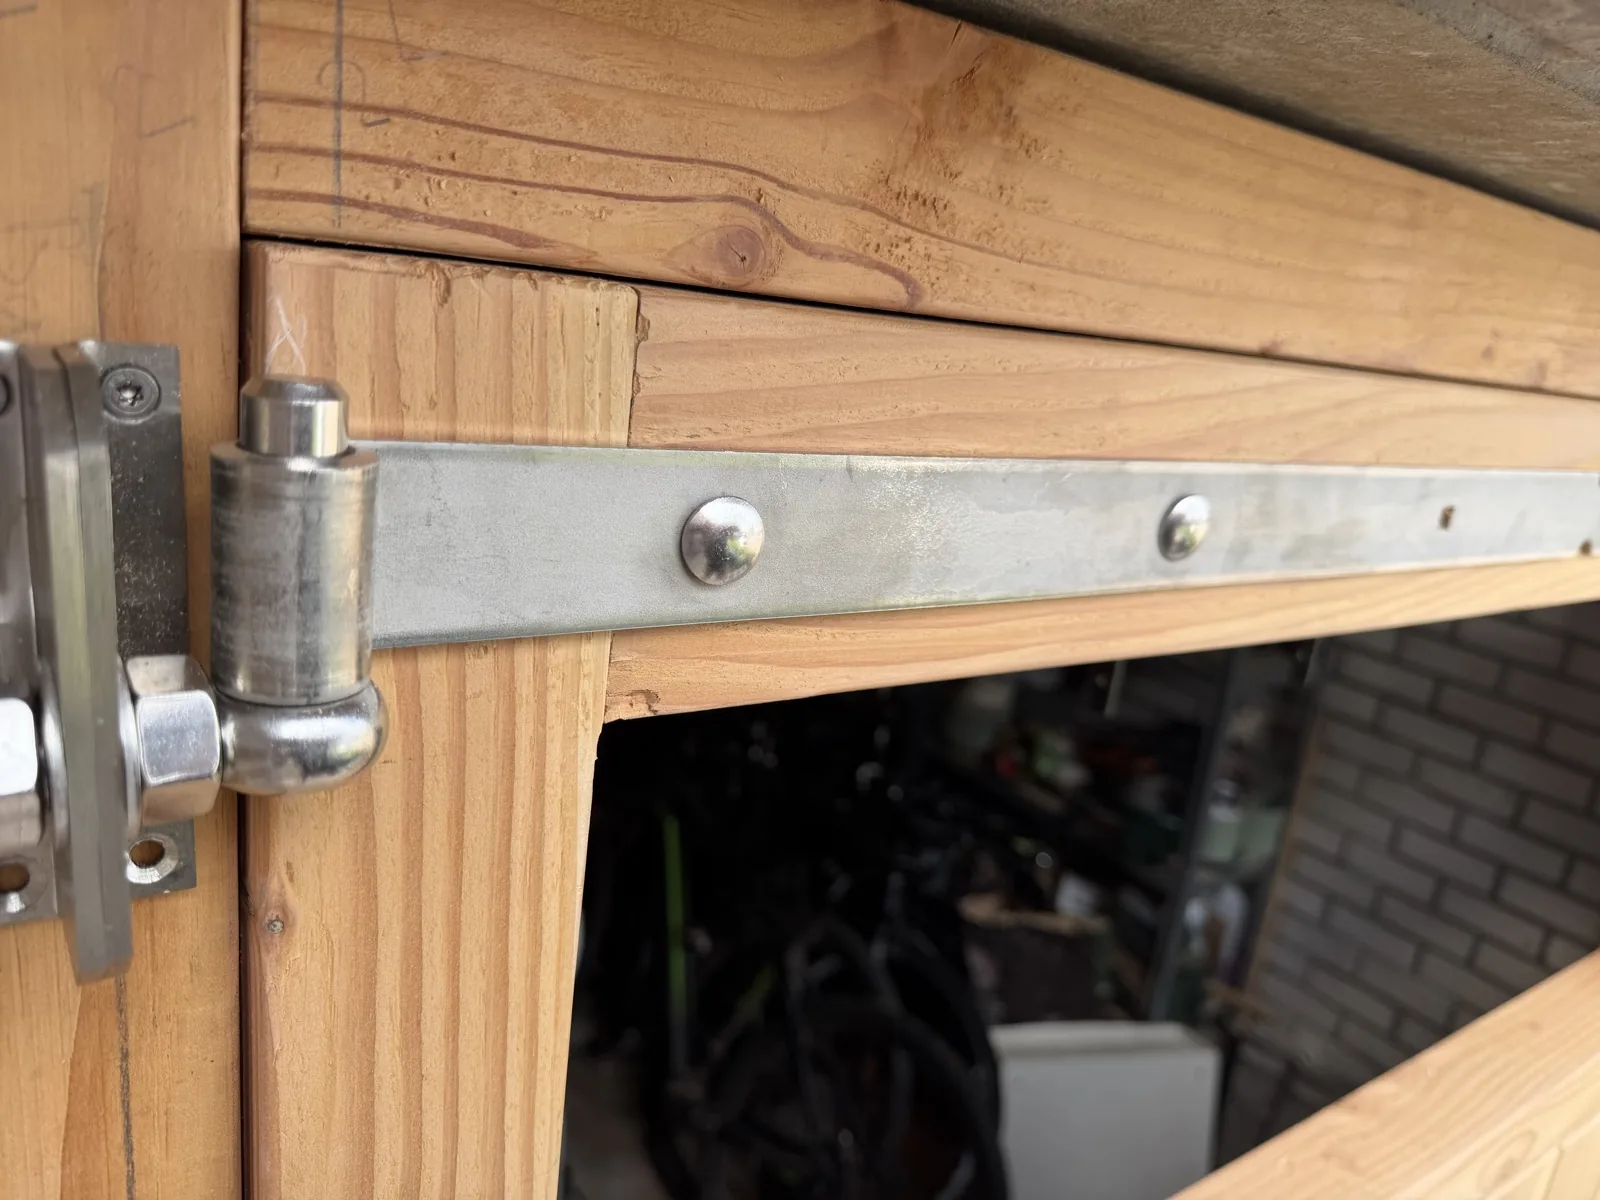
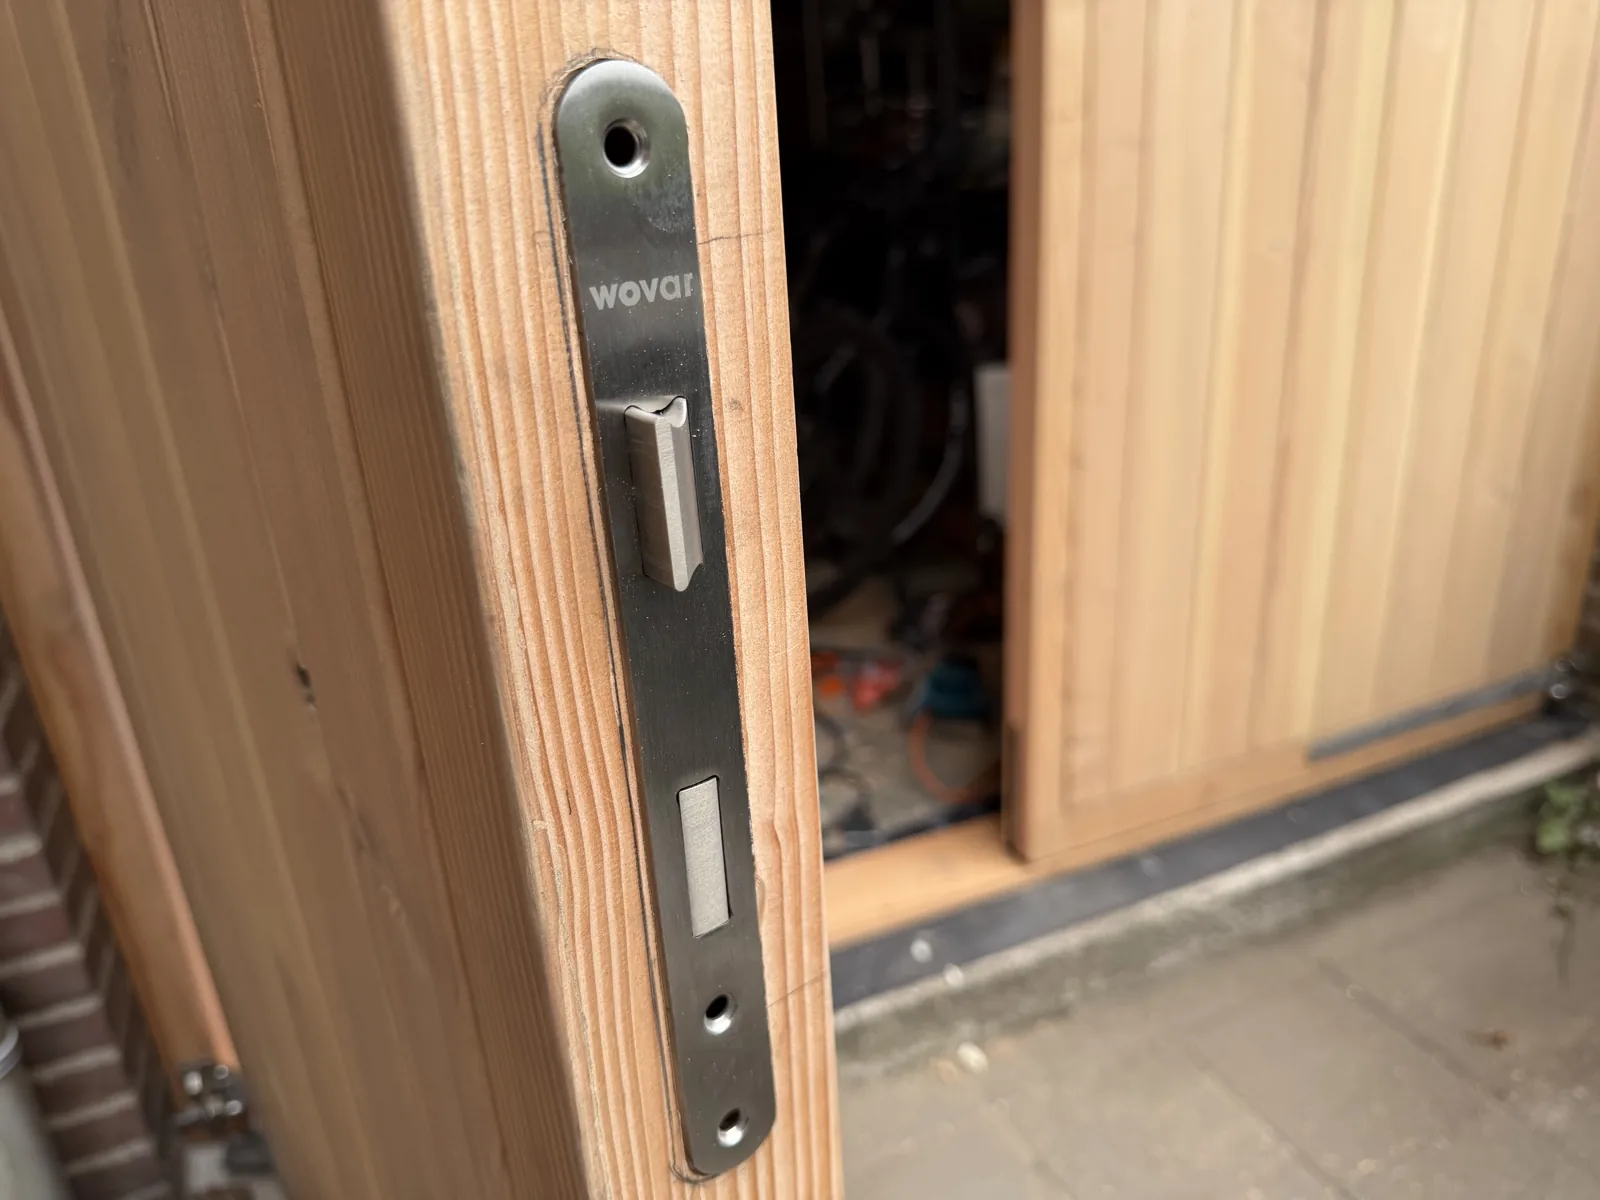
Black strap hinges were planned at first. At the client's request it became stainless, steel-coloured hardware in the end, which gives the door a calmer, more solid look. Only when the adjustment was right did the lock go in, with the keep and the strike plate let into the edge of the door. The hardware is deliberately kept simple, so that maintenance and later replacement are not in the way.
Use shapes the door
The door is there for the workshop, and that use shaped many of the choices. It brings in more daylight, insulates the space better in winter and keeps street noise out. That makes working there more pleasant and protects the machines better against the cold. Because the doors open outward there is also a wide clear passage, with no rails or guides in the way, which makes carrying long boards, machines and material in and out a good deal easier.
The construction is firmly anchored in the existing situation, but designed so it can later be taken apart and moved forward if the workshop is ever extended. That way the work done now stays usable when the space changes.
Where it stood when I wrote this
The doors were hung and working. They opened and closed, met in the middle, and the lock engaged. What still had to happen was the glazing in the top lights, the finish on the Douglas fir, and a final round of adjustment where it did not yet run quite tight enough.
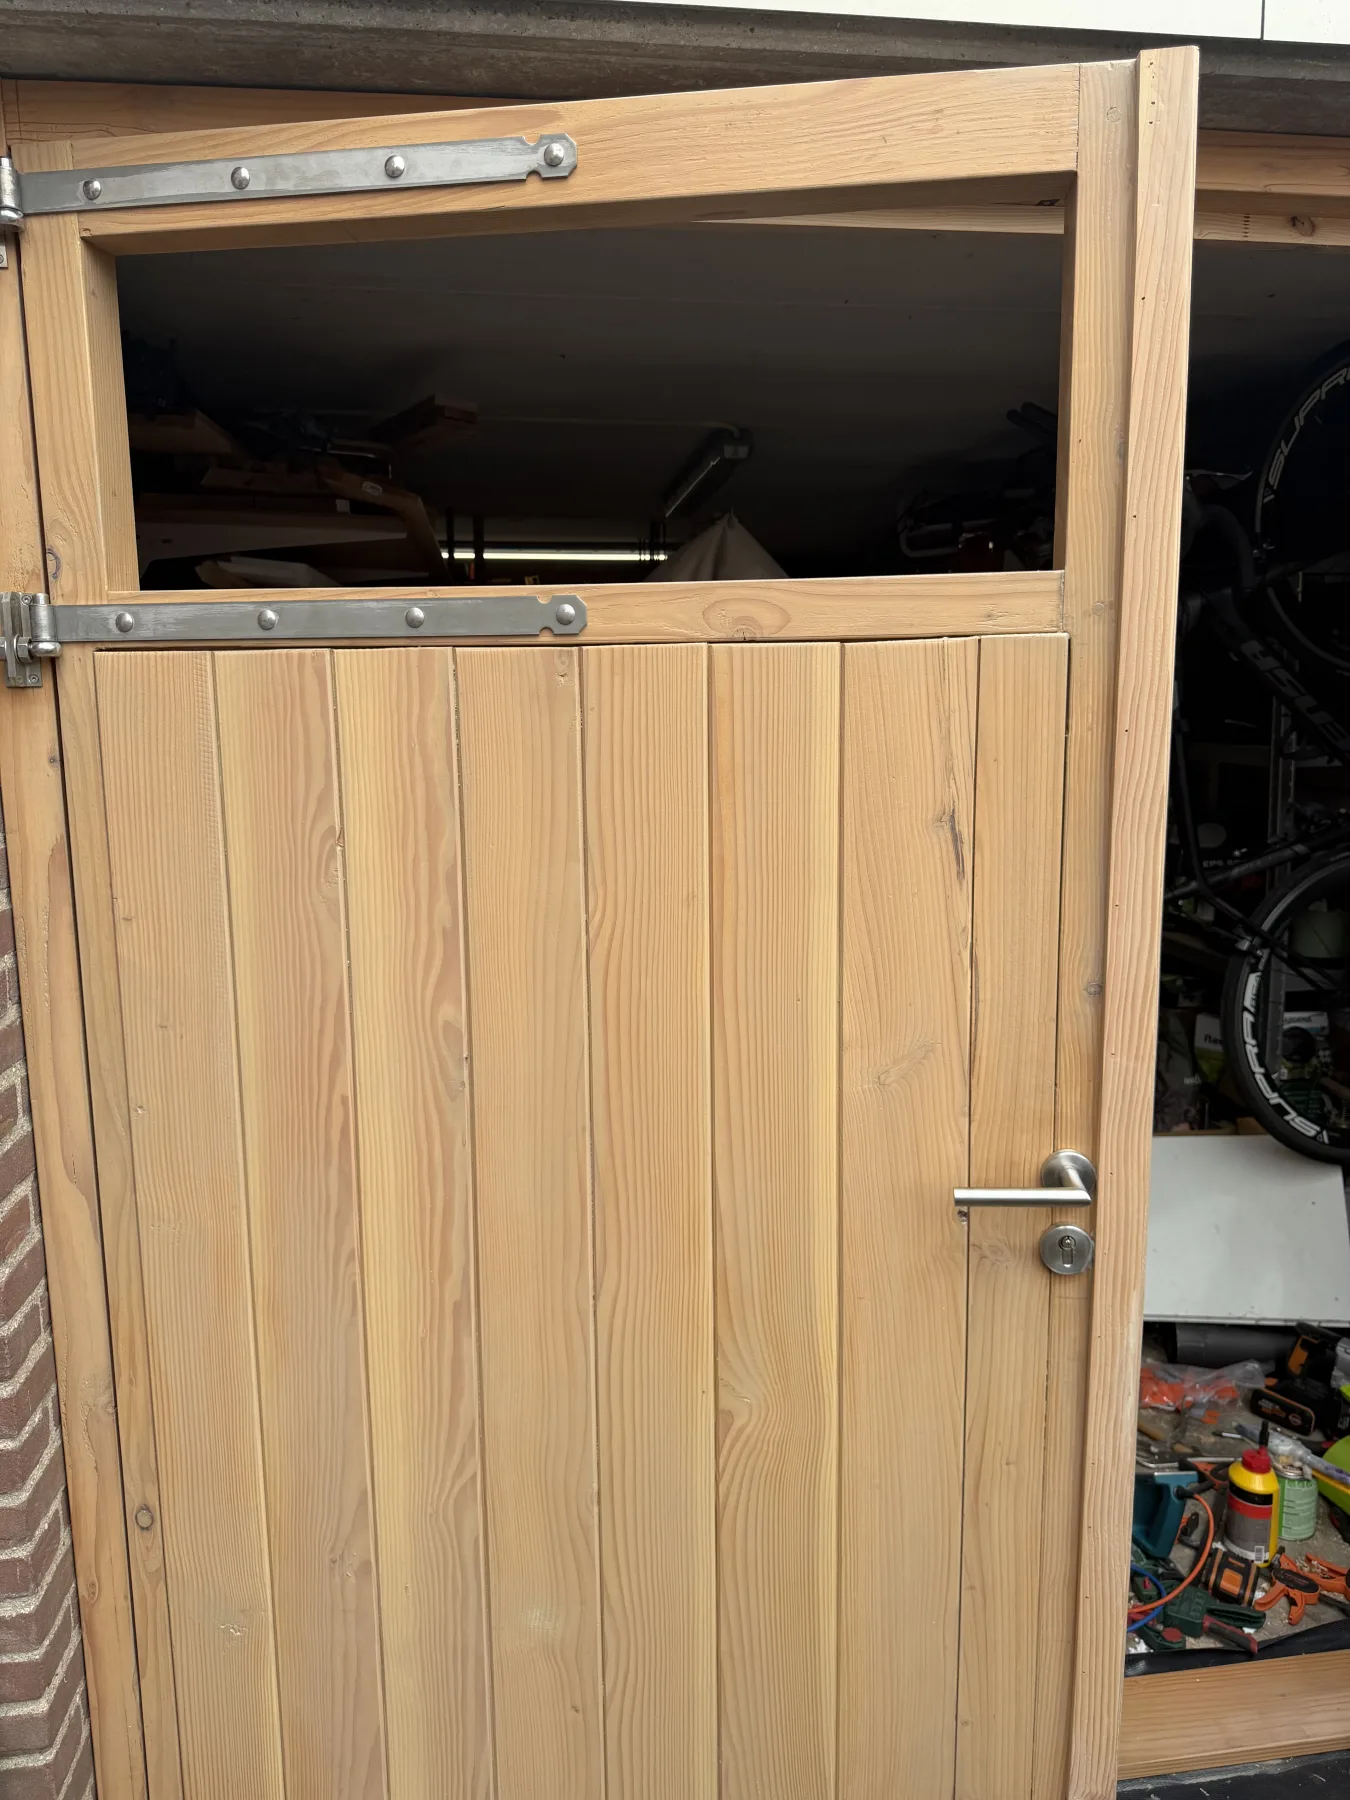
I am in no hurry with that finish. The Douglas fir was worked in summer and has been able to acclimatise to the place, and in a number of spots I deliberately left some play for the shrinking and swelling that comes with changing humidity. The wood will be stained or given a vapour-open finish, on the end grain and the less visible faces as well, so that it takes up and releases moisture as evenly as possible. The sill and the water drainage get extra attention, because that is what it will come down to.
The door in use
After placing the glass windows a continuous pane per top light, with a black warm edge spacer that keeps the border quiet.
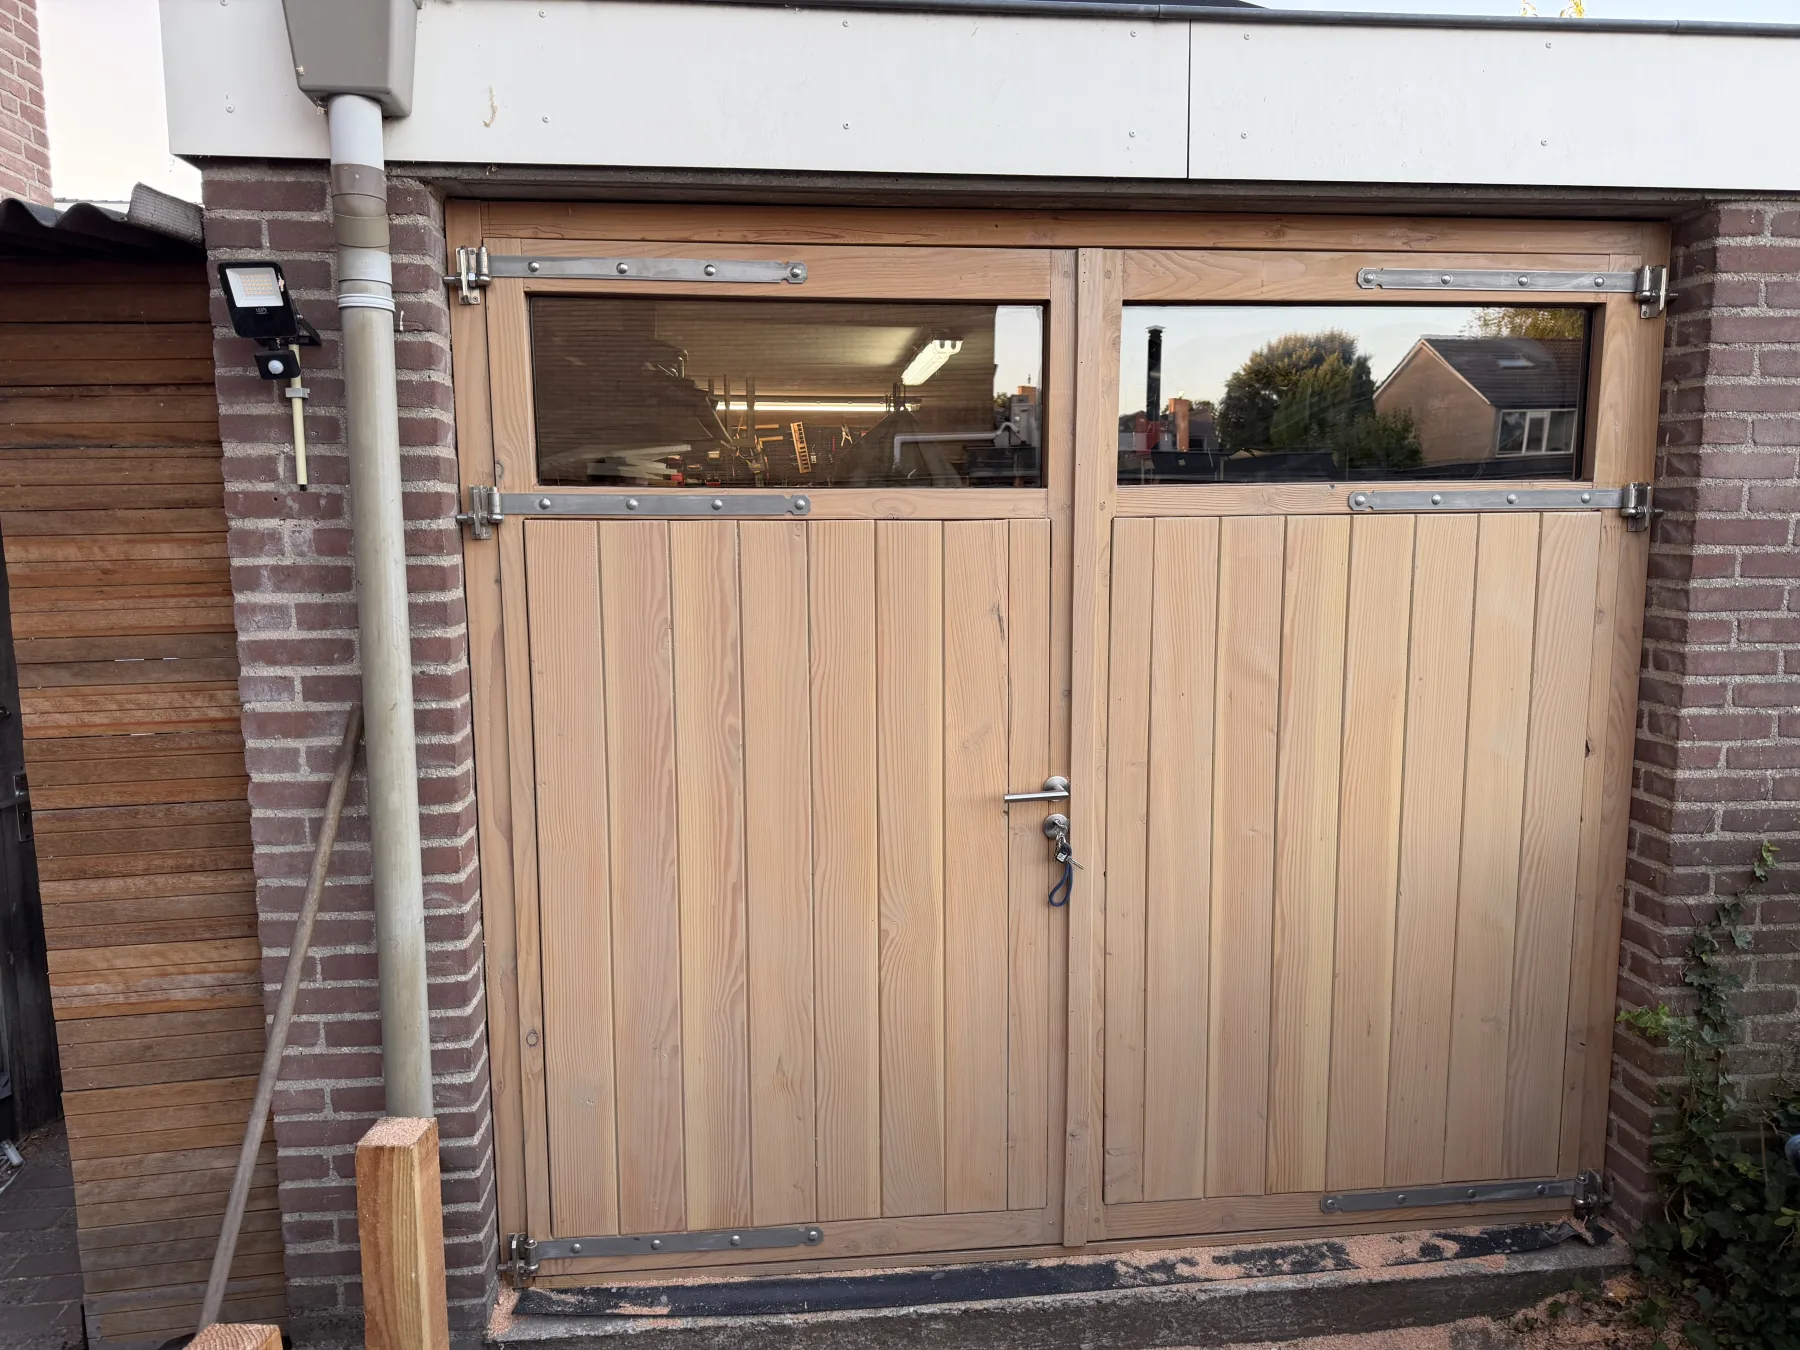
What stands out first in use is the light. The workshop was a space where the lamp went on the moment you walked in. During the day that is no longer needed. The second difference is sound: the heavy, closed leaves damp the traffic outside noticeably better than the steel sheet that was there. And because the doors swing outward the whole opening is clear, which makes carrying long boards and machinery in and out a good deal easier.
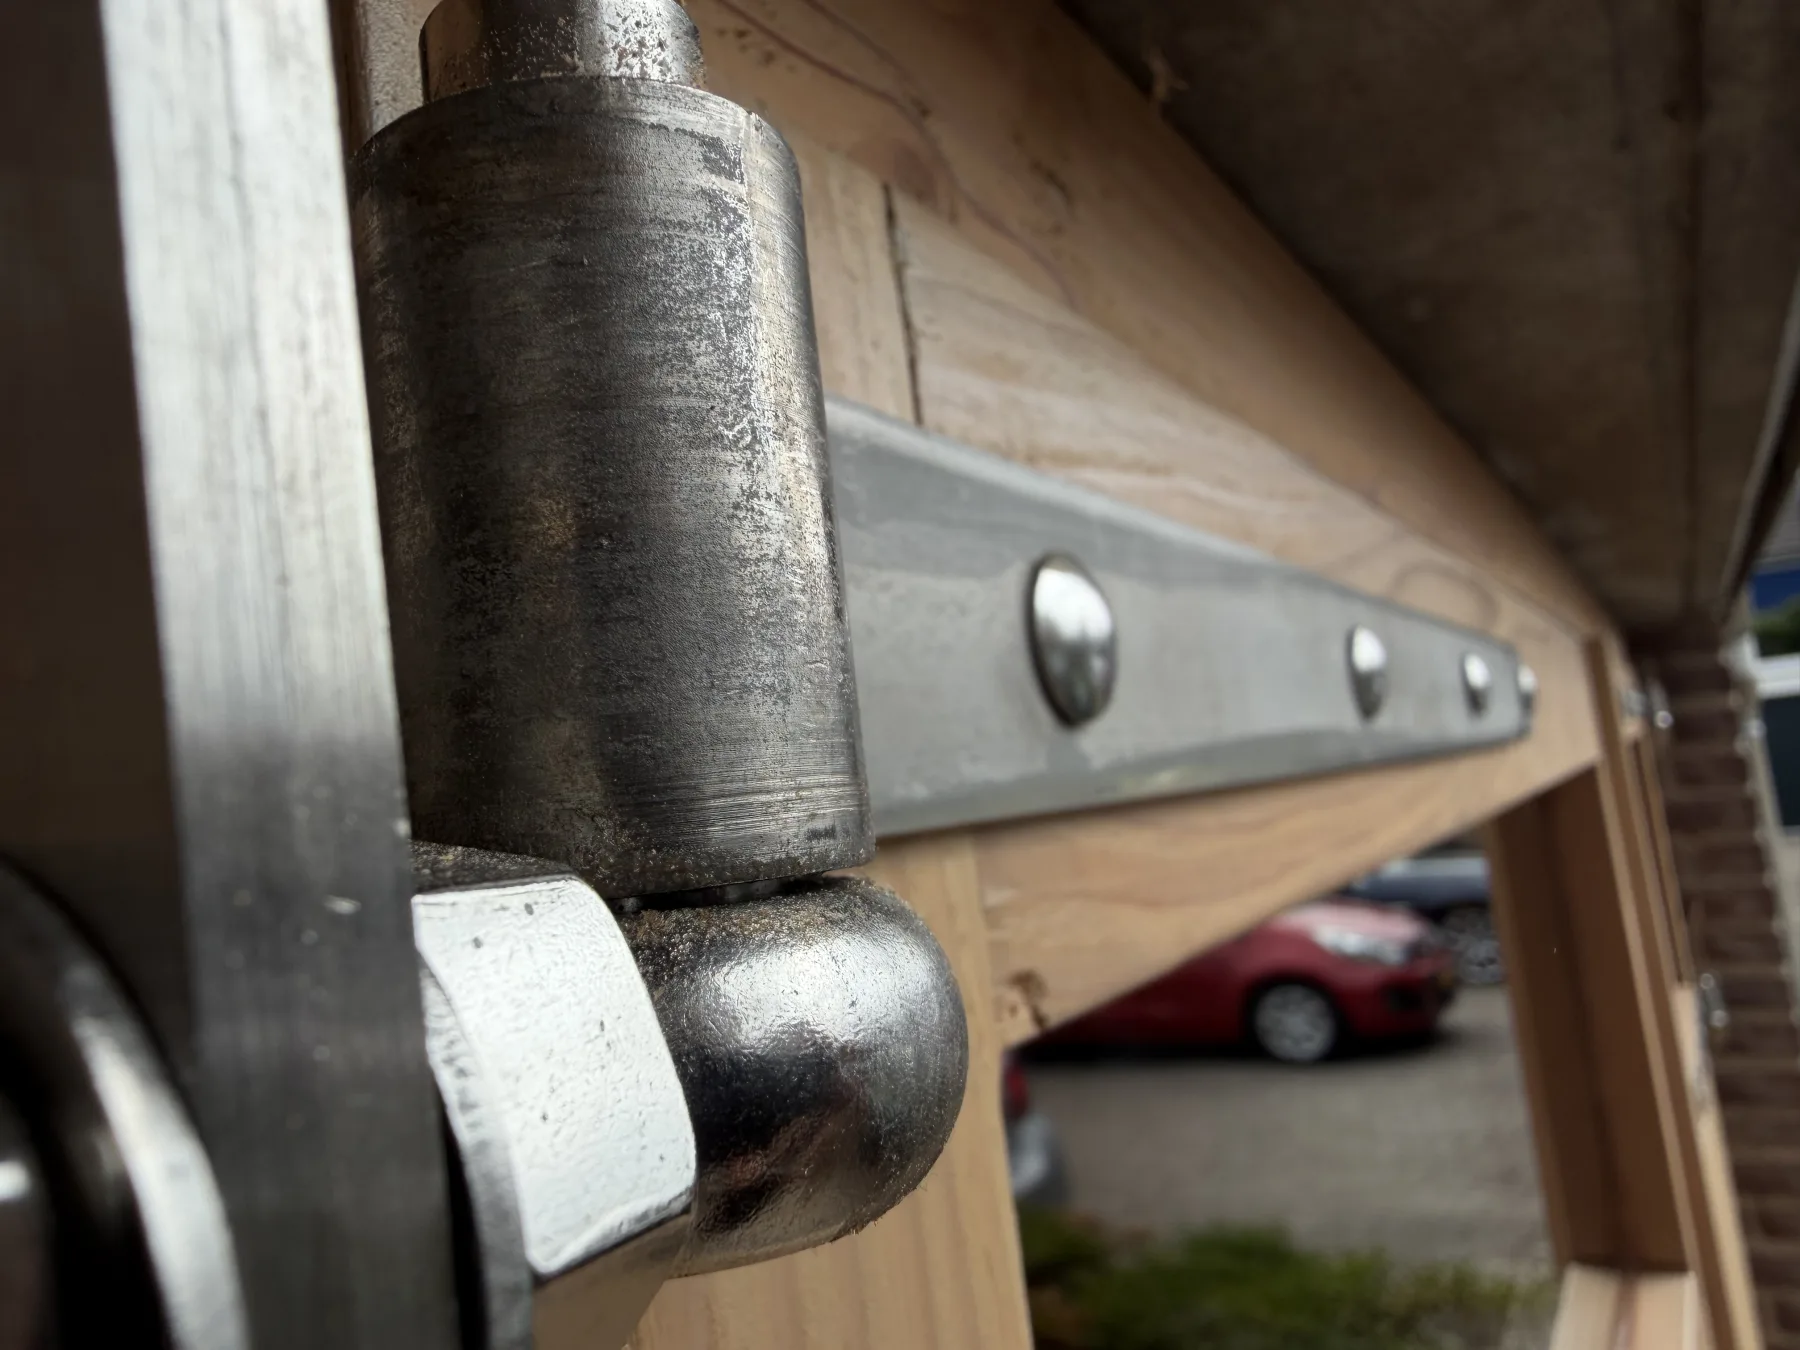
The door is not finished. The finish on the Douglas still has to come, and there are a few places I want to adjust until it really runs true. There is no hurry in that.
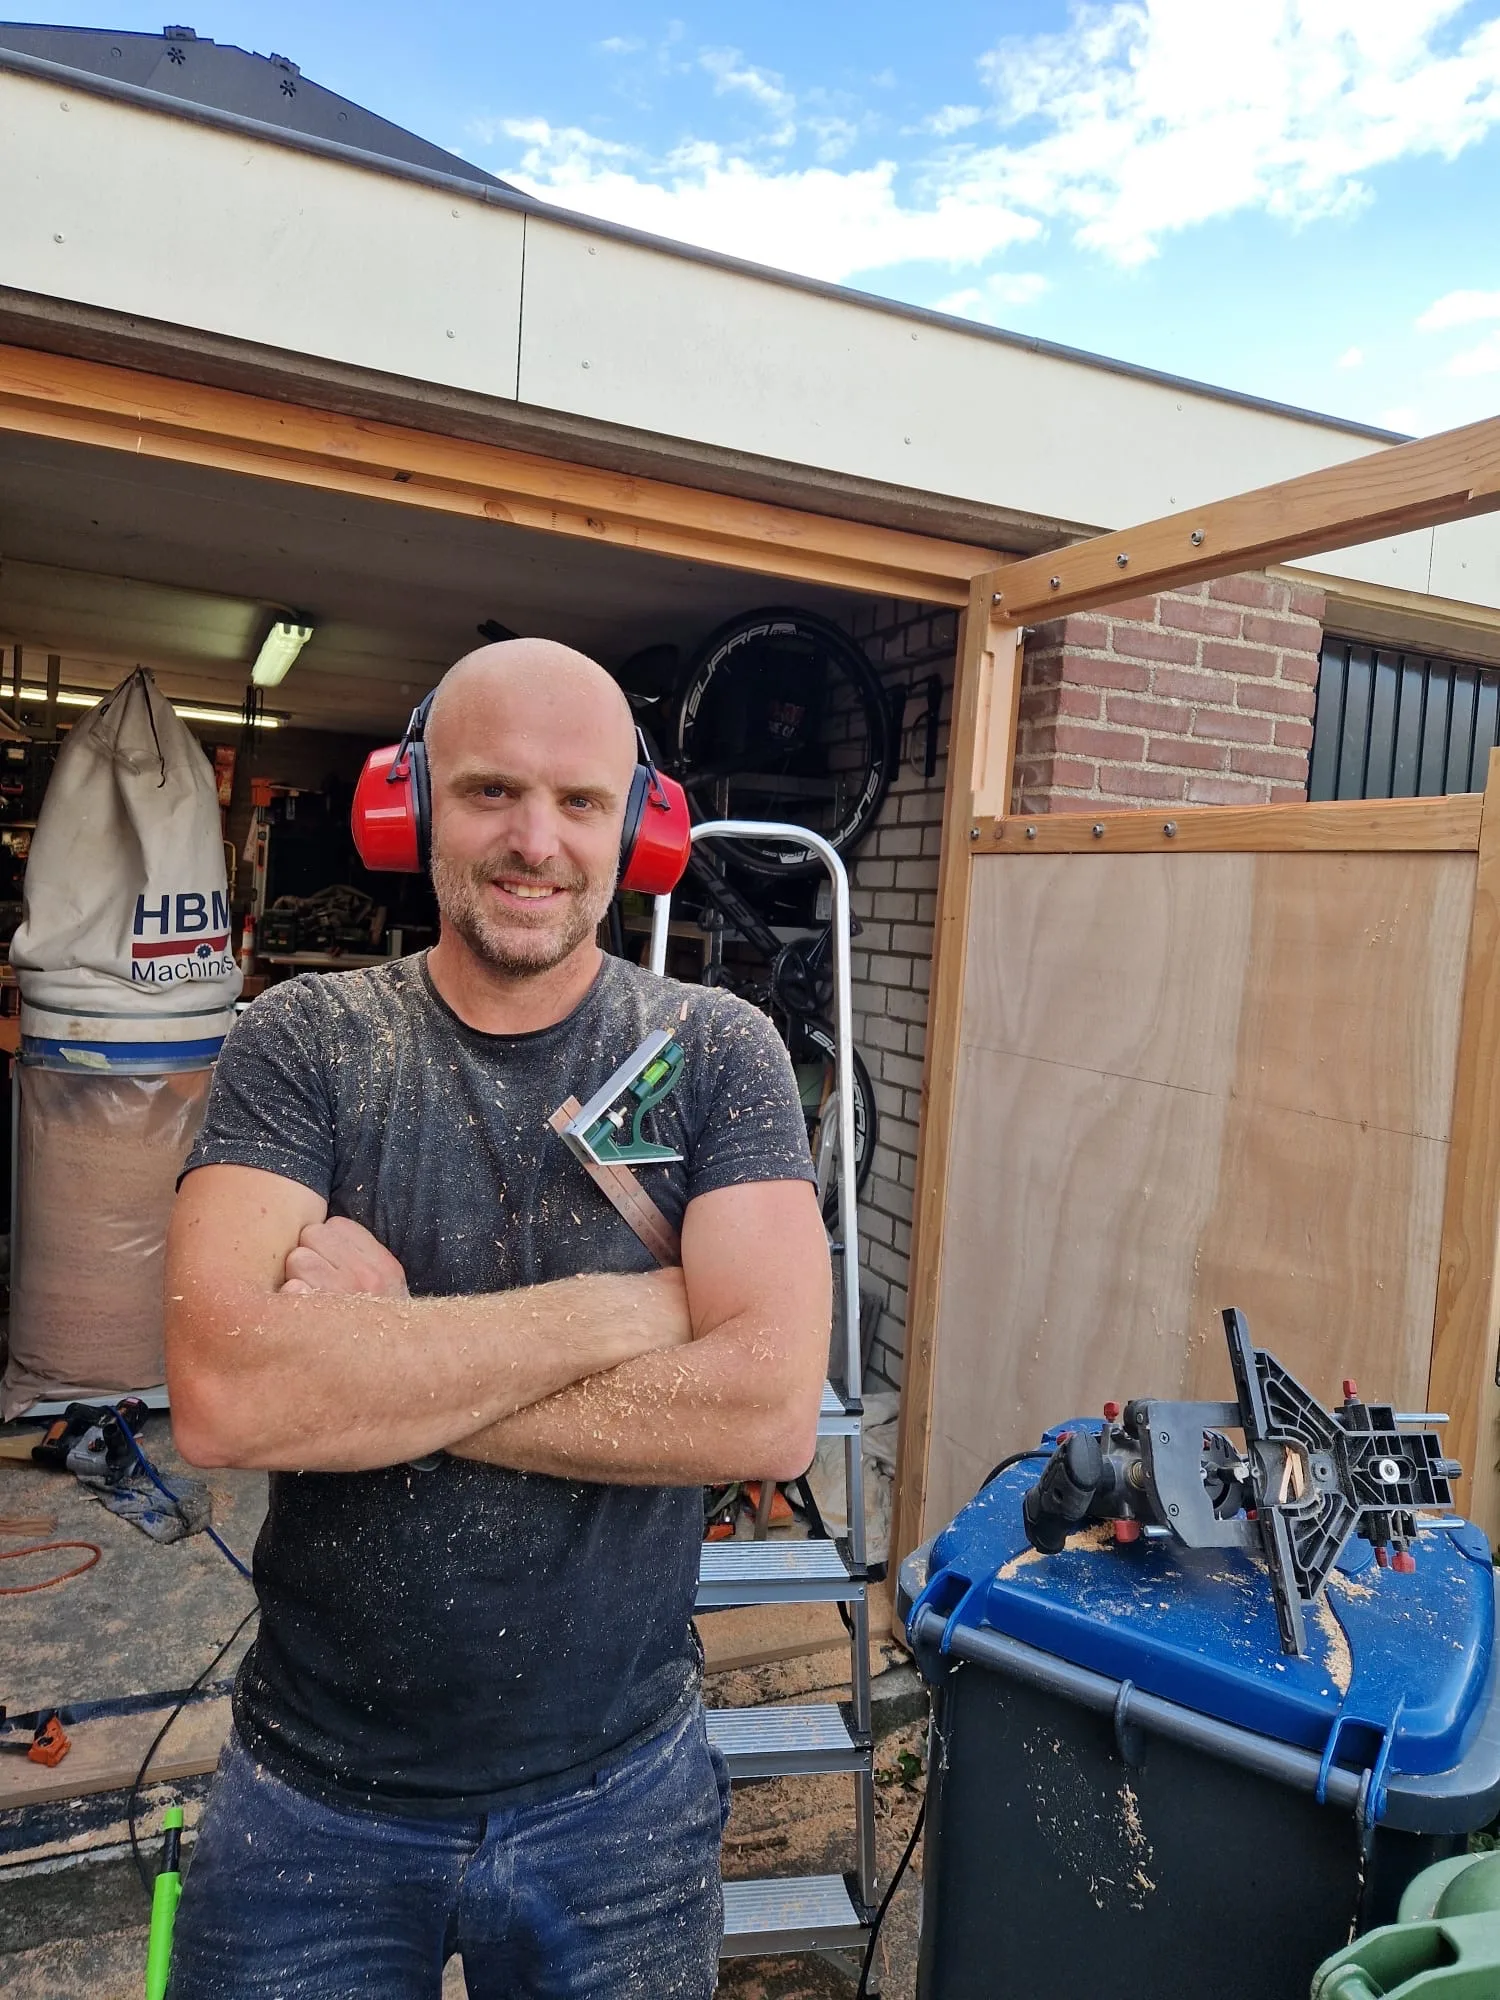
How the system works and where it can be adapted is on the work page Outward-opening garage doors in Douglas.